How to host a Frozen party (A tutorial for the unorganised)
WARNING: Do not continue?if you have?no interest in Disney?s Frozen whatsoever.
Having two daughters under 10, our house & car has been filled with Frozen songs, so naturally that was the chosen theme for Miss 4?s 5th birthday. I?wasn?t interested in it being the best decorated Frozen party ever. I just wanted it to be achievable & for her to have a good time. So, here is a tutorial on how to have a Frozen party when you?re on a budget & leave things until the last minute.
Having a late August birthday, the major toy sales were over and Frozen had almost done it?s dash in the shops.
Lesson 1) When?something like this is all the rage, buy stuff?when you see it and hide it until the party.?
Lesson 2)?That stuff you said you?d buy online? Do it today. Before you know it, it will be 4 days before the party and you won?t have enough shipping time.
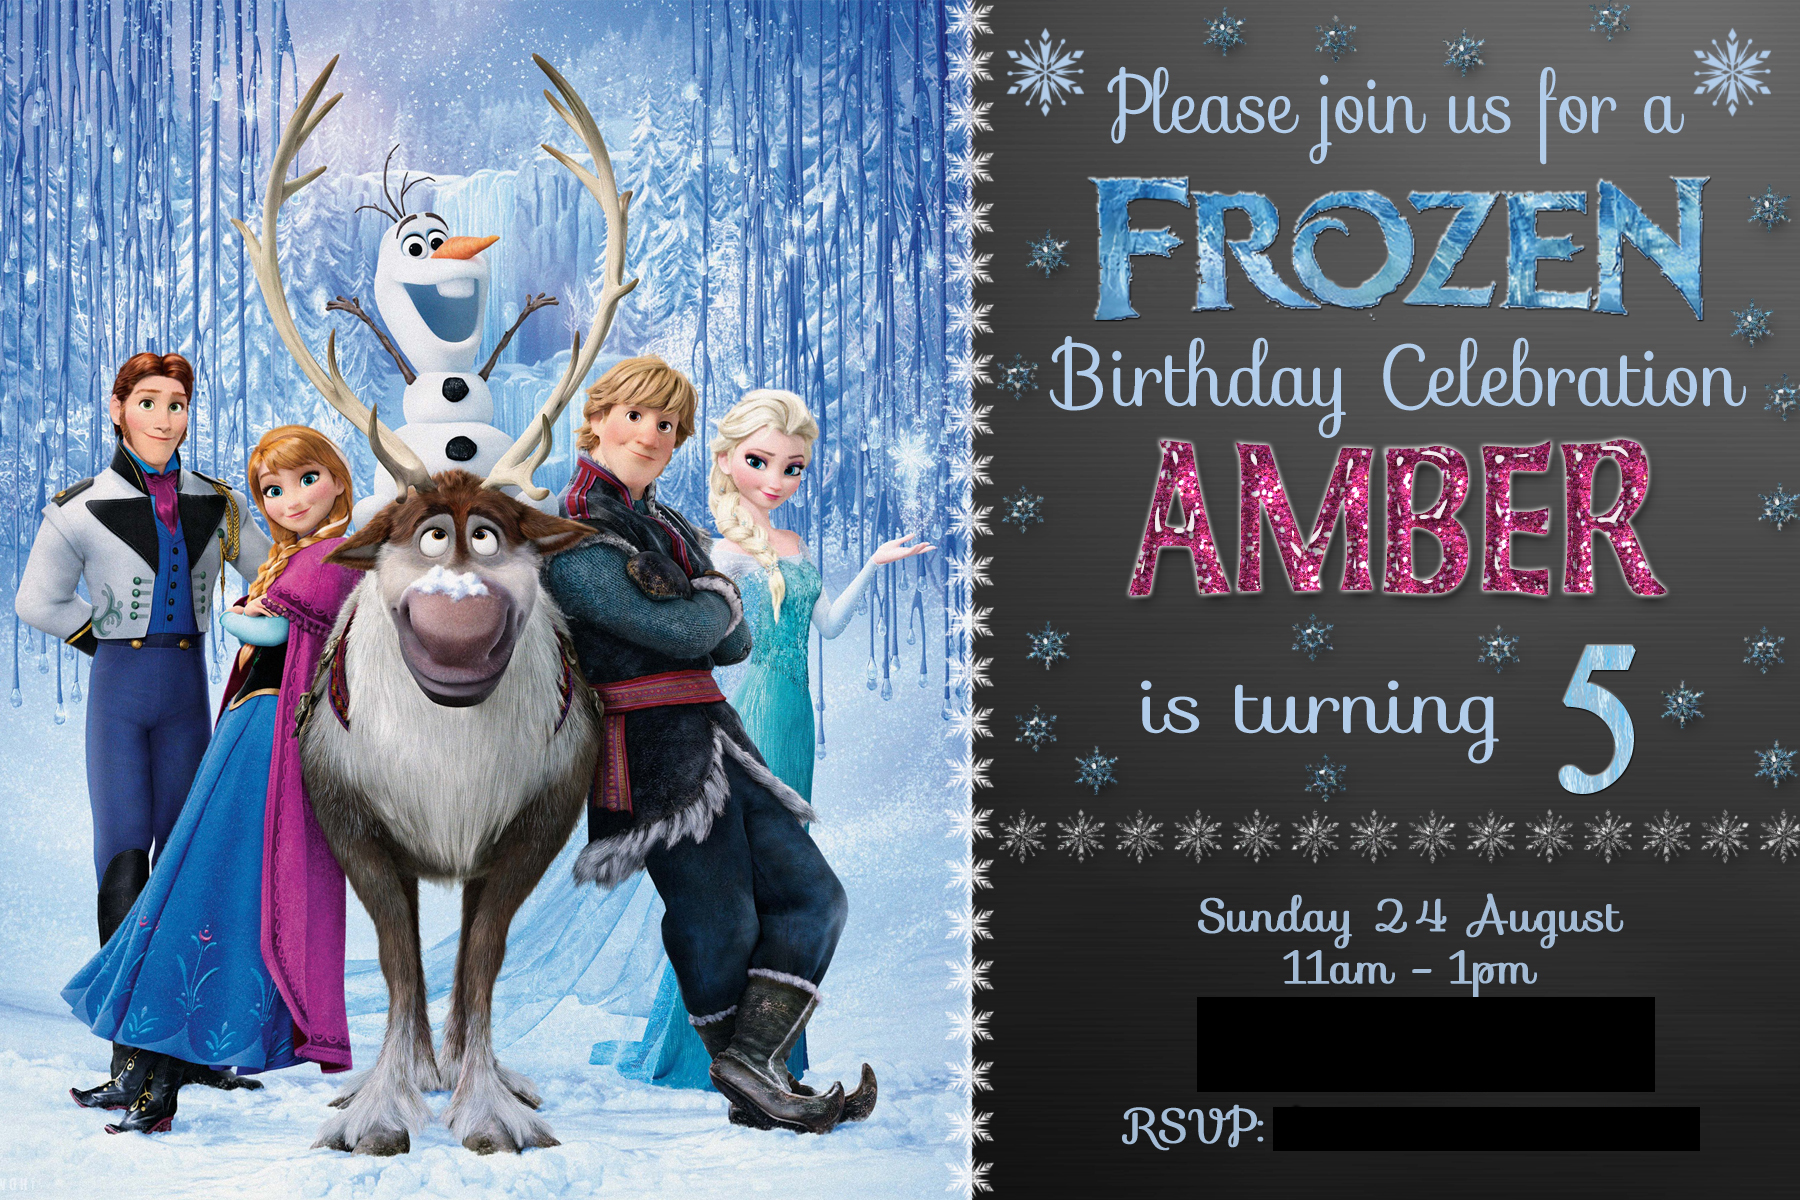
OK, so let?s start with Invitations. After searching & finding some gorgeous templates, I gave up and tried Etsy. Wow. My first Etsy purchase and I was impressed. Yes I paid $9 for a lady in America to add some text which would have taken her 30 seconds. And yes, I paid her a little more to redo the file because I stuffed up the day. But she was soo nice & efficient & then I had a stunning, quality file.? I rushed down to Officeworks?with my?USB stick and printed it as a photo print for 10c each. https://www.etsy.com/au/shop/LetsPartyShoppe?section_id=14008426&ref=shopsection_leftnav_1
Lesson 3) Etsy really is awesome.
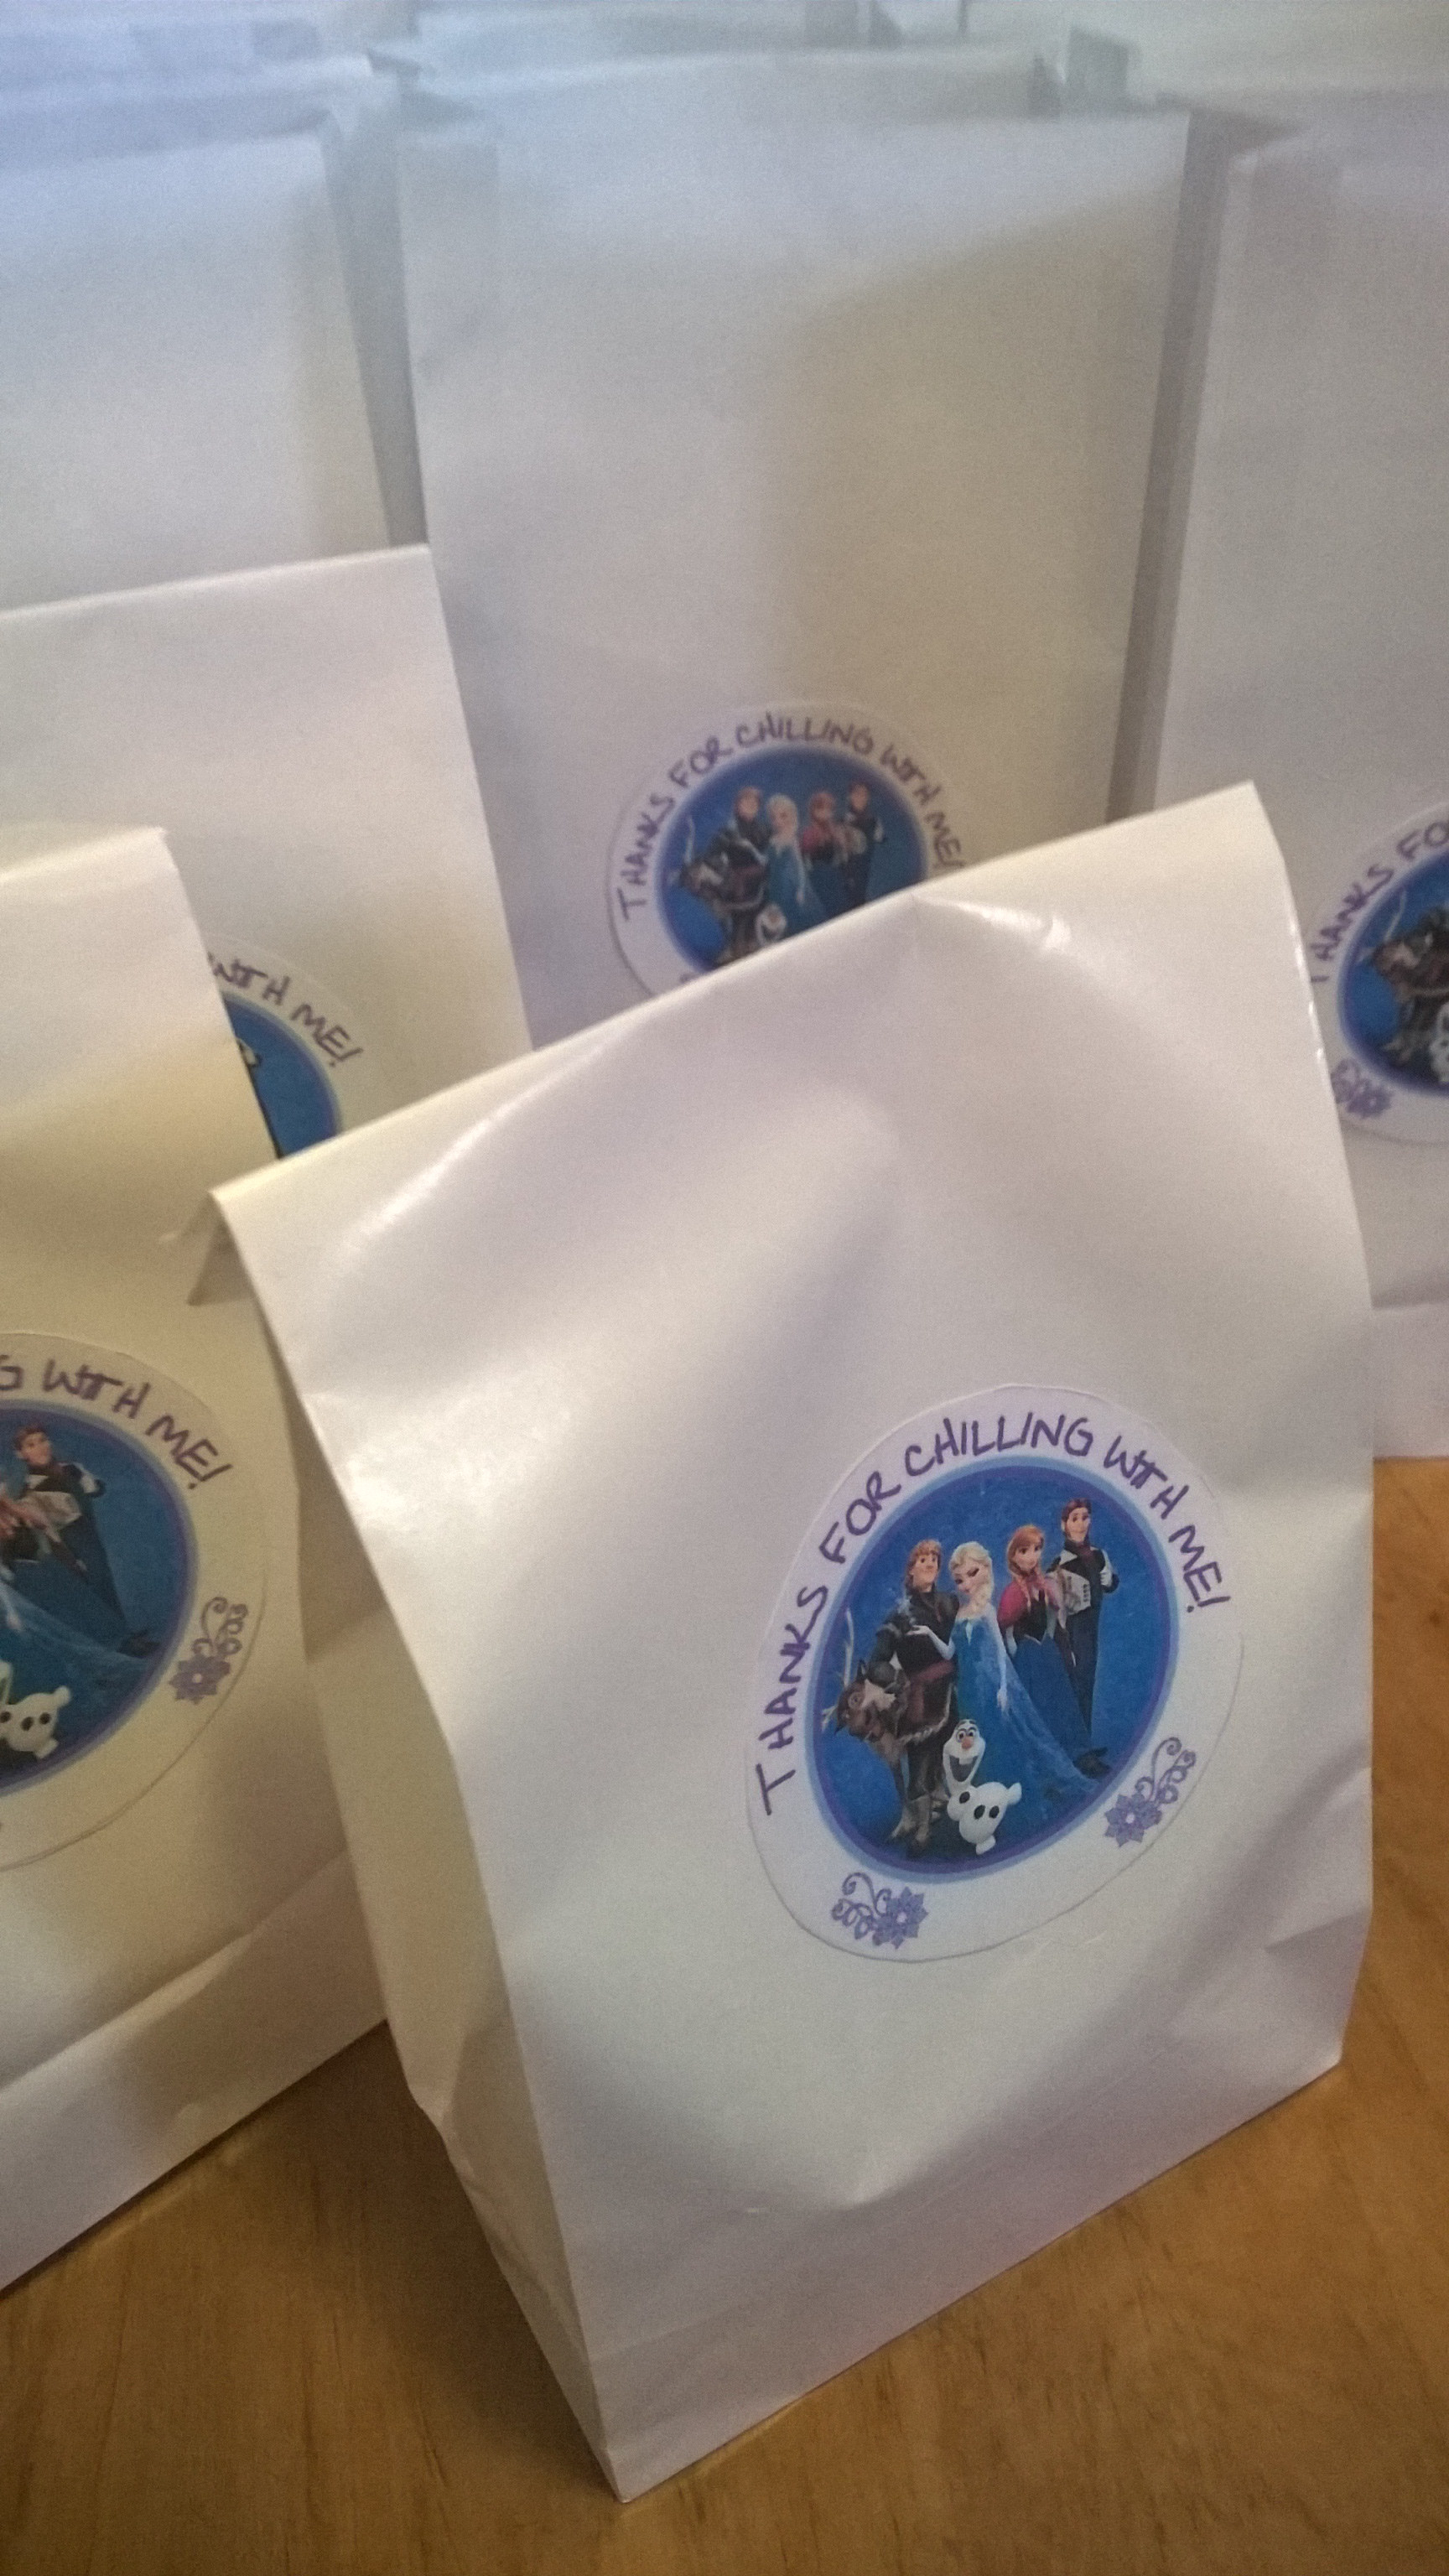
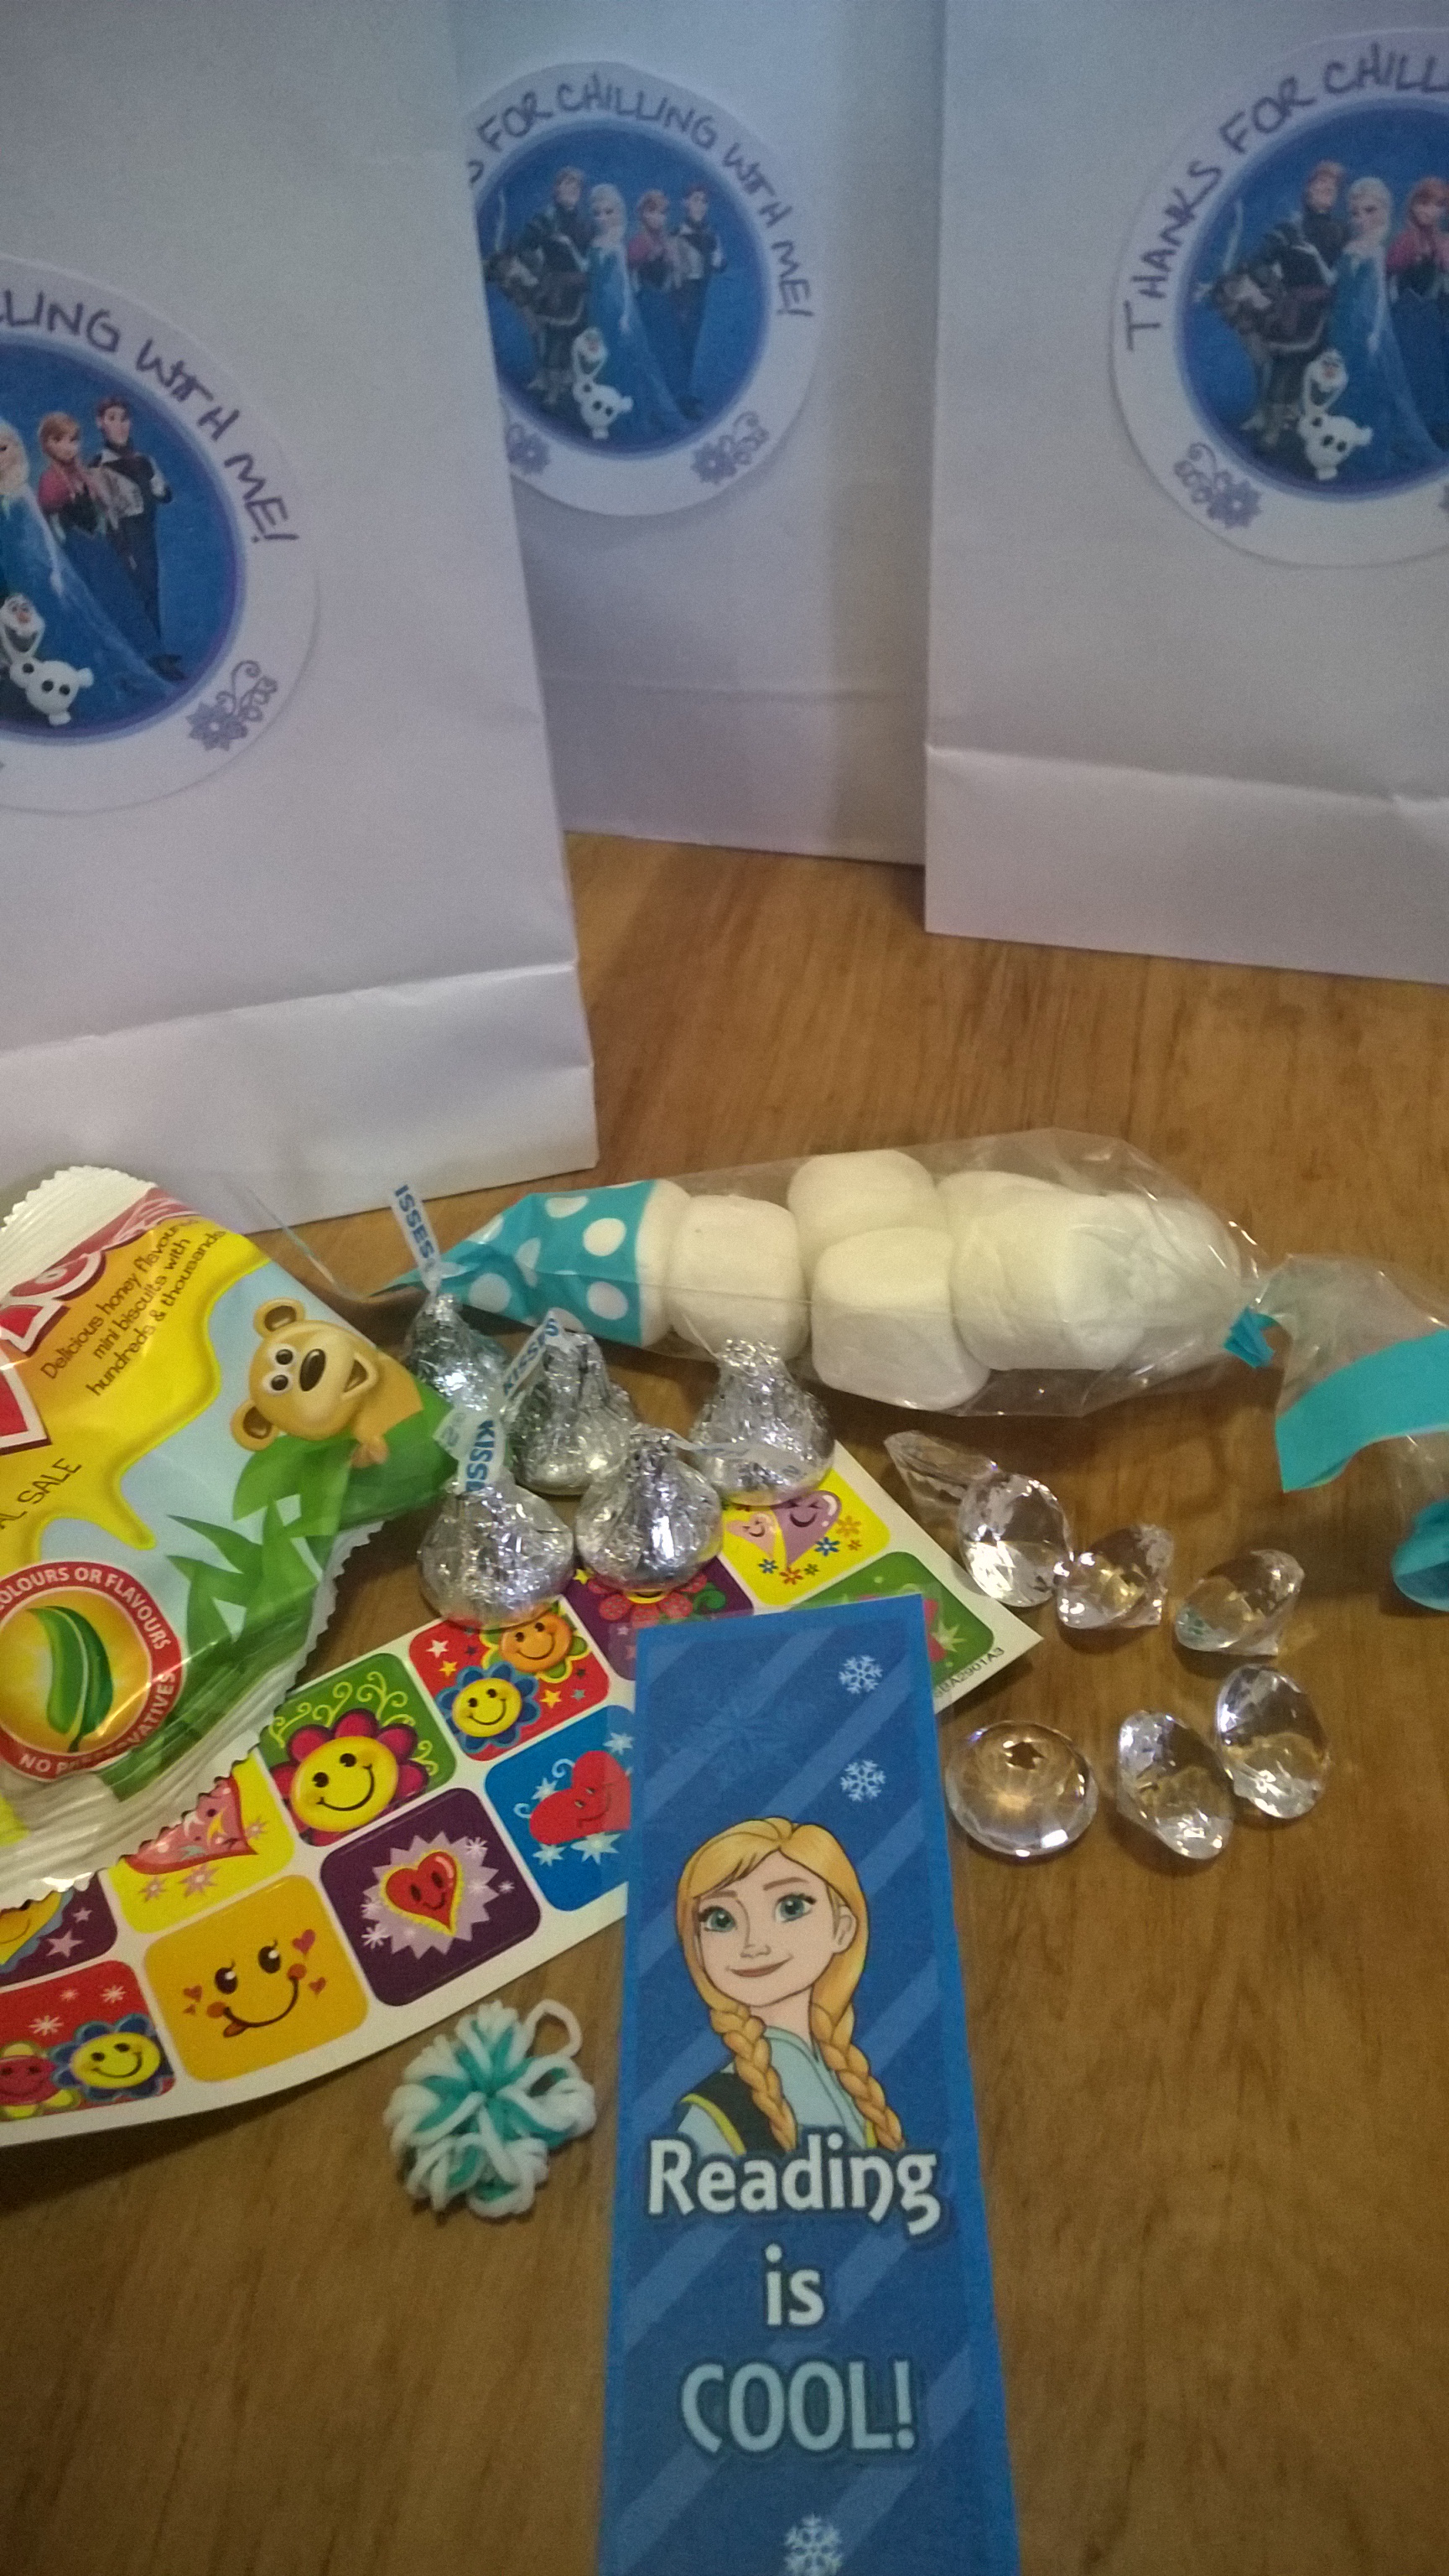
Lesson 4) With a little bit of creativity, party bags don?t need to be just full of lollies & won?t cost you the earth.
- Stickers are always a hit with 5yr old girls, so I bought a bit book & cut up strips.
- Tiny Teddies from Aldi.
- Marshmallows from Aldi split into individual blue/clear bags from Spotlight.
- Hershey?s true love kisses from Costco.
- Snowflake rainbow loom charms courtesy of Miss 9 & a You Tube tutorial (http://youtu.be/EmWv9WDlLzI)
- Ice crystals from a bag?bought from the local discount shop, King Kong Sales
- Bookmarks printed from the internet,?cut & laminated (http://halegrafx.com/printables/free-printable-frozen-bookmarks/)
- Sticker on the party bags was a printable that I can?t for the life of me find again on the internet, but just search & you will find plenty.
 ??????????
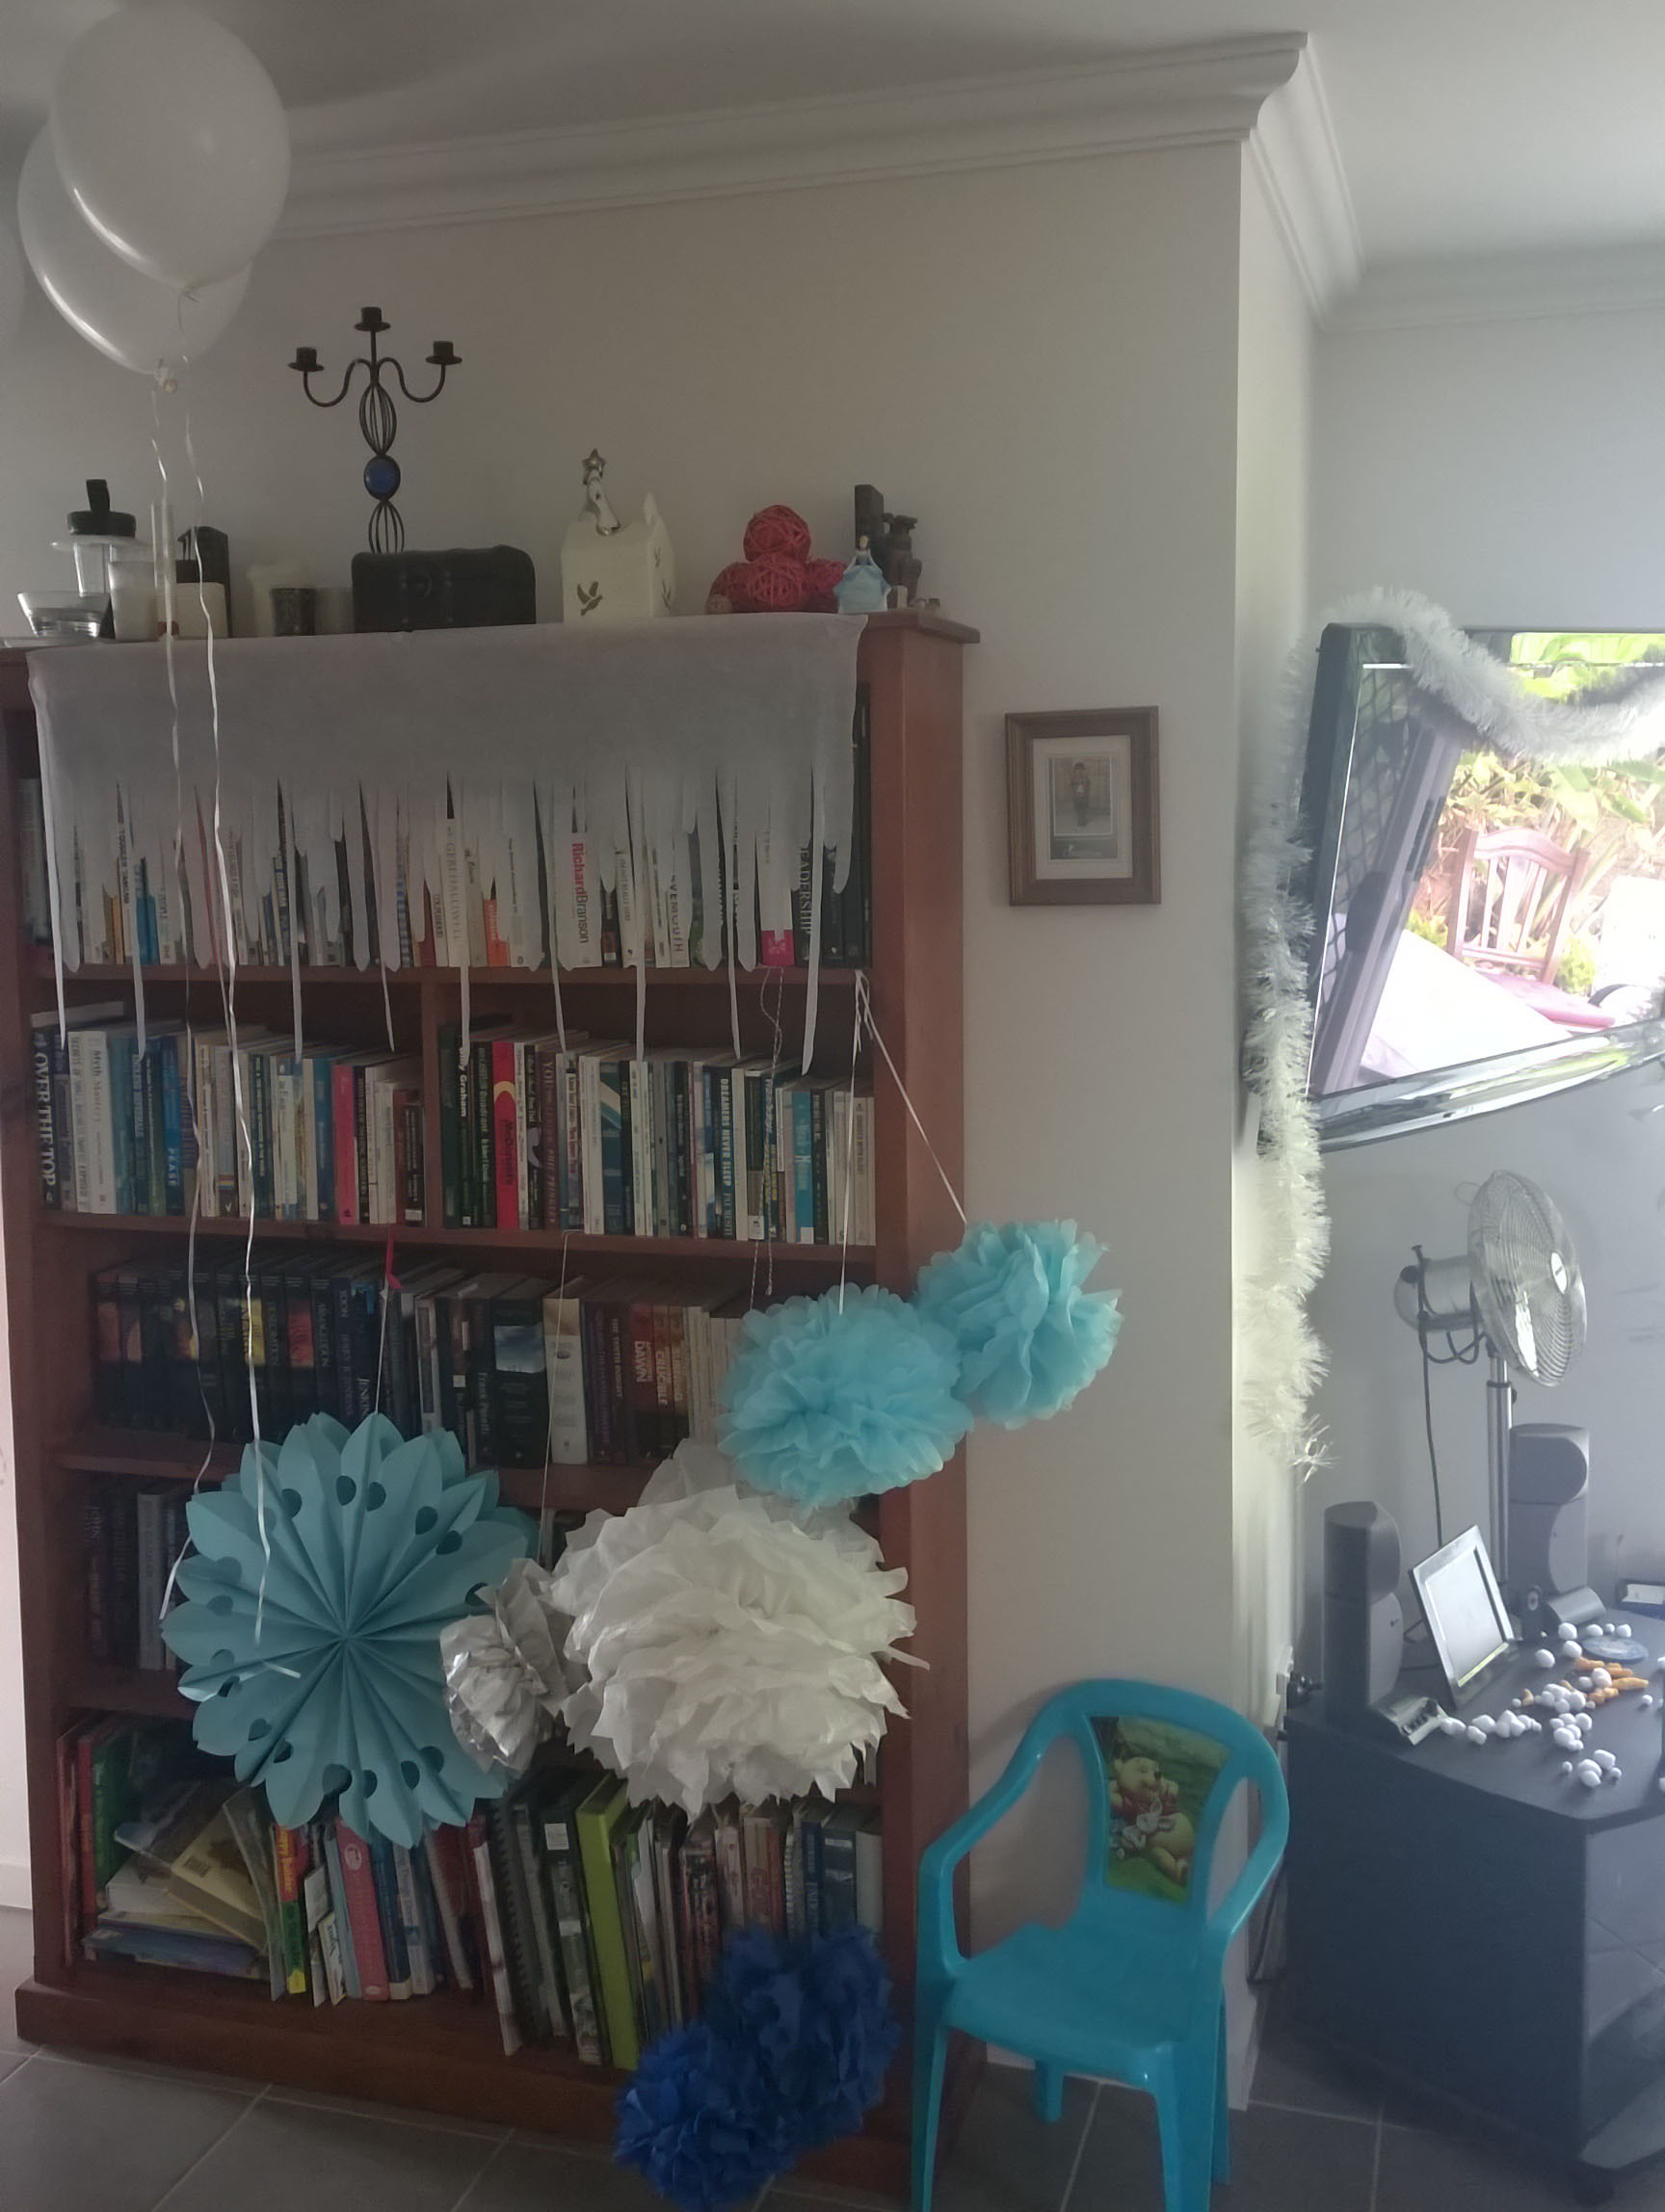
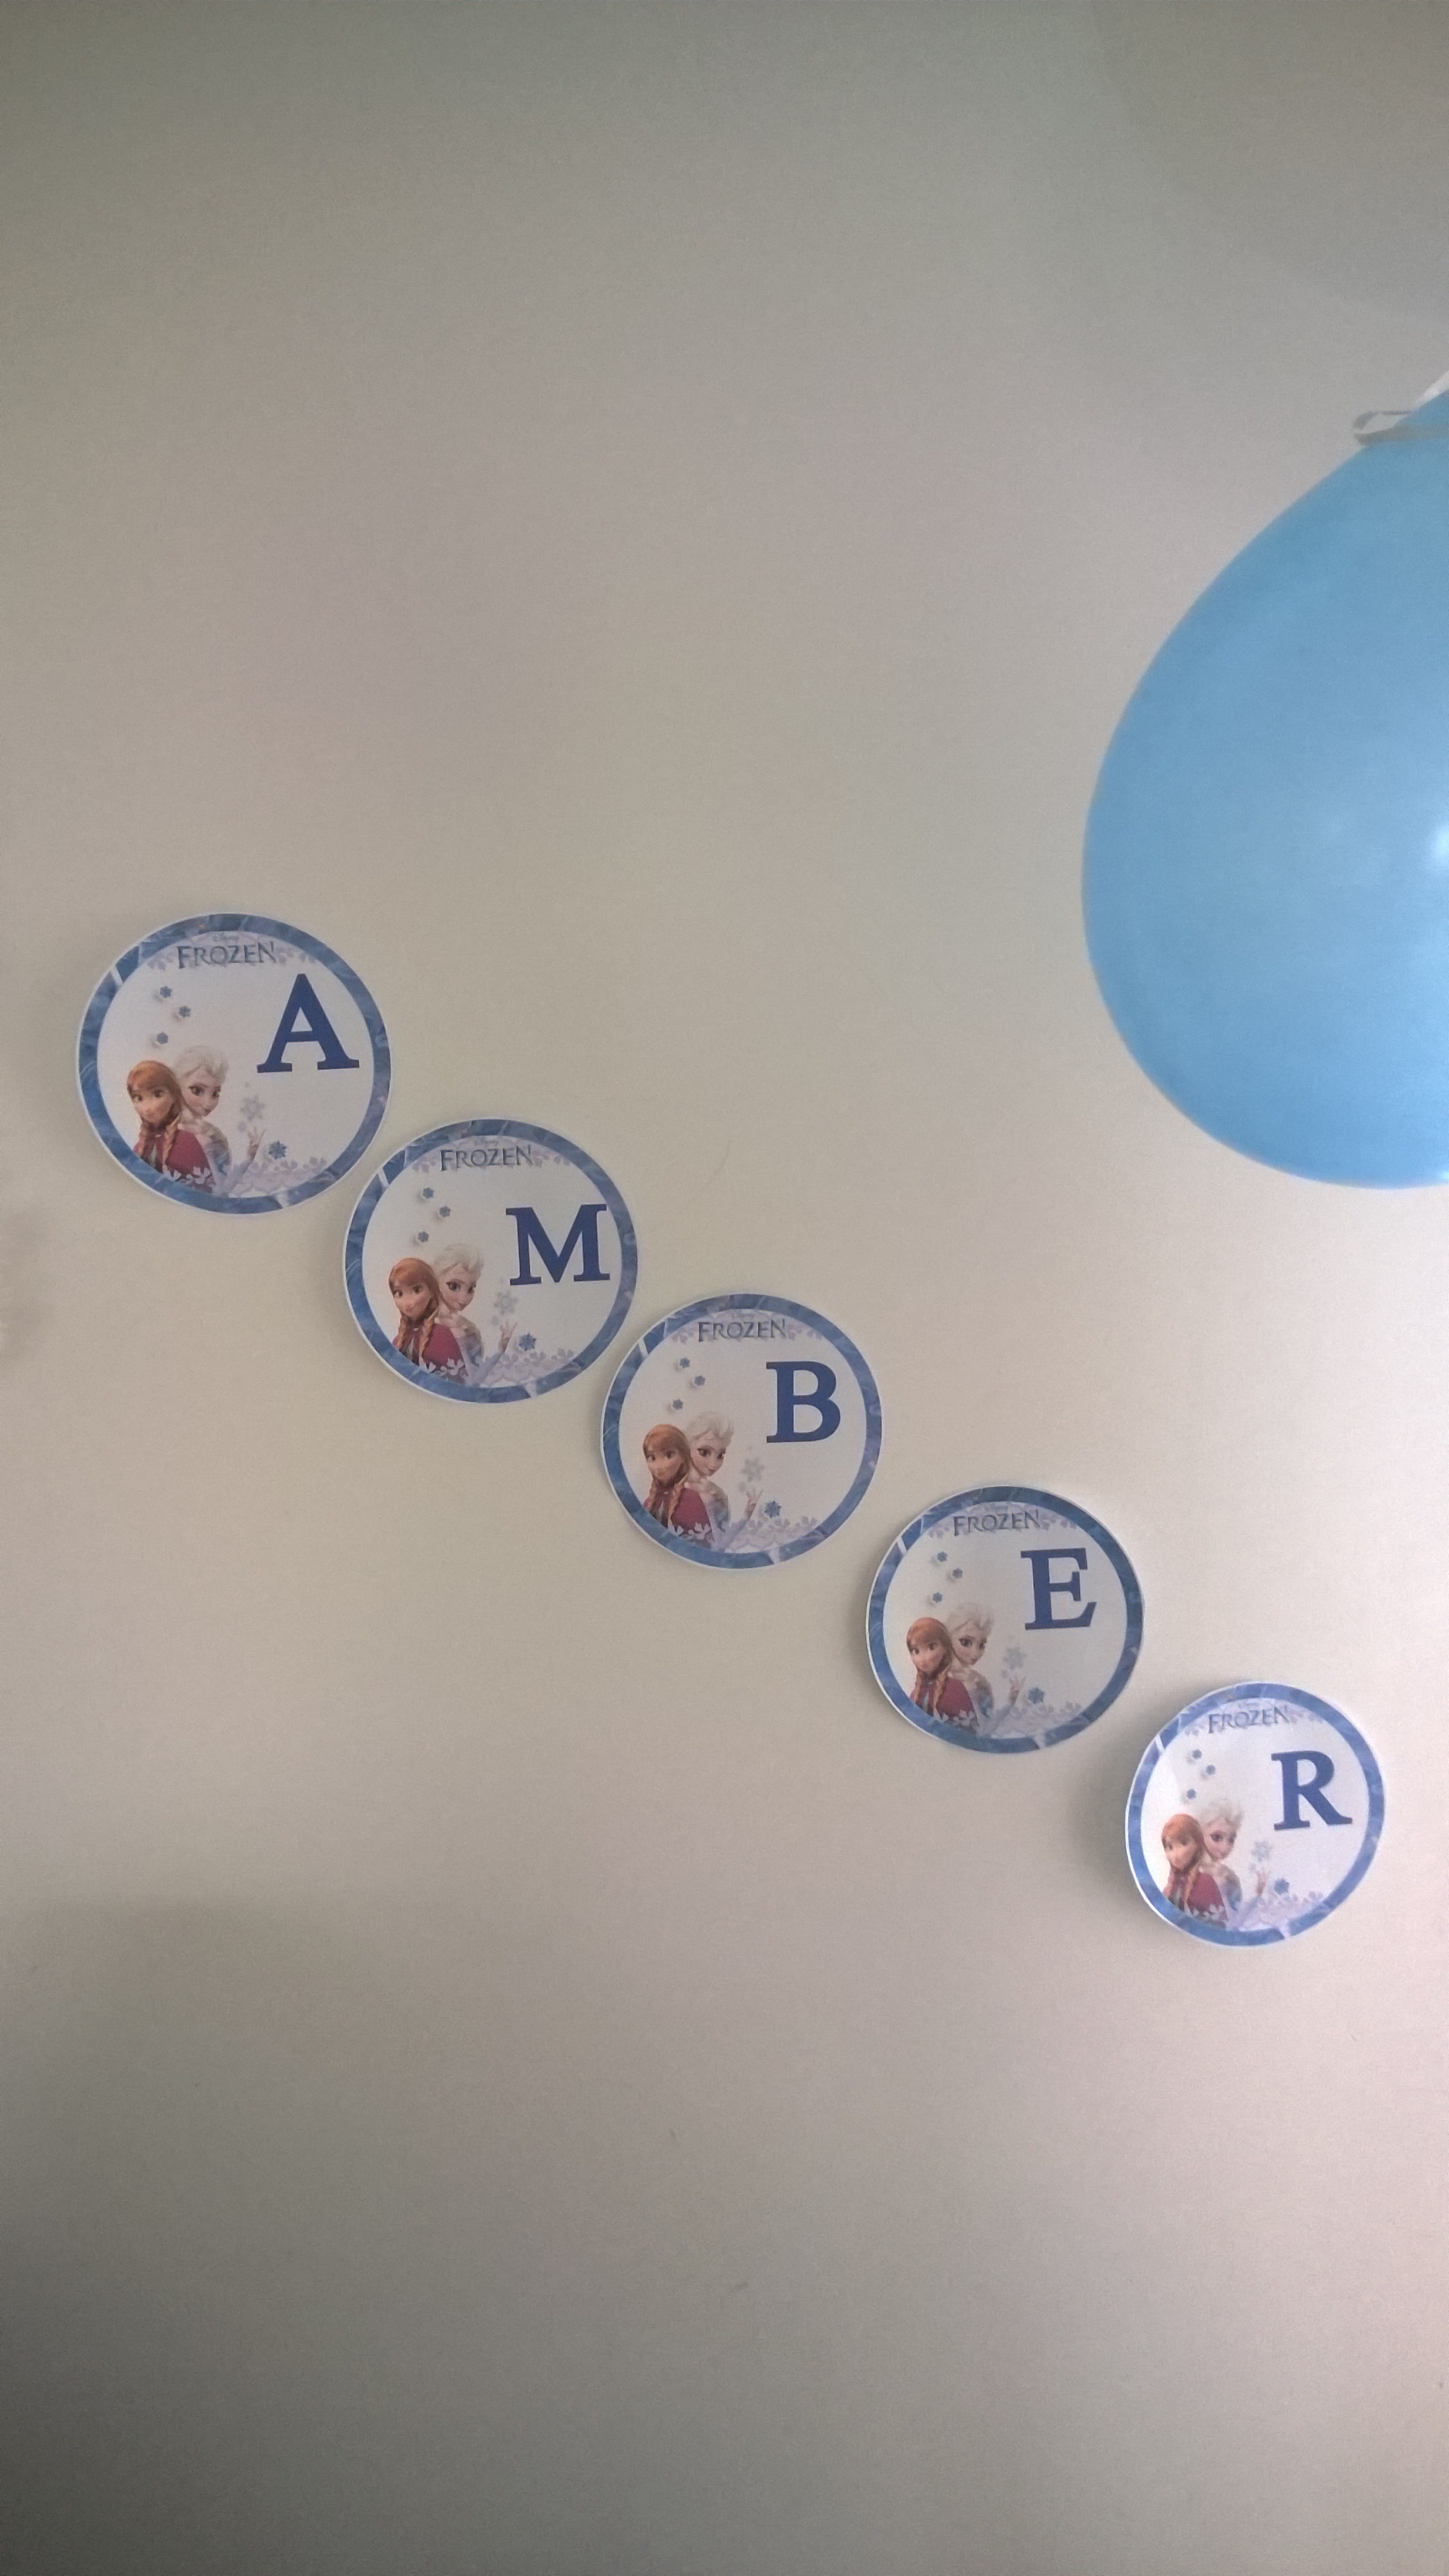
Lesson 5) Decorations also don?t have to cost the earth, but sourcing stuff & printing stuff takes time.
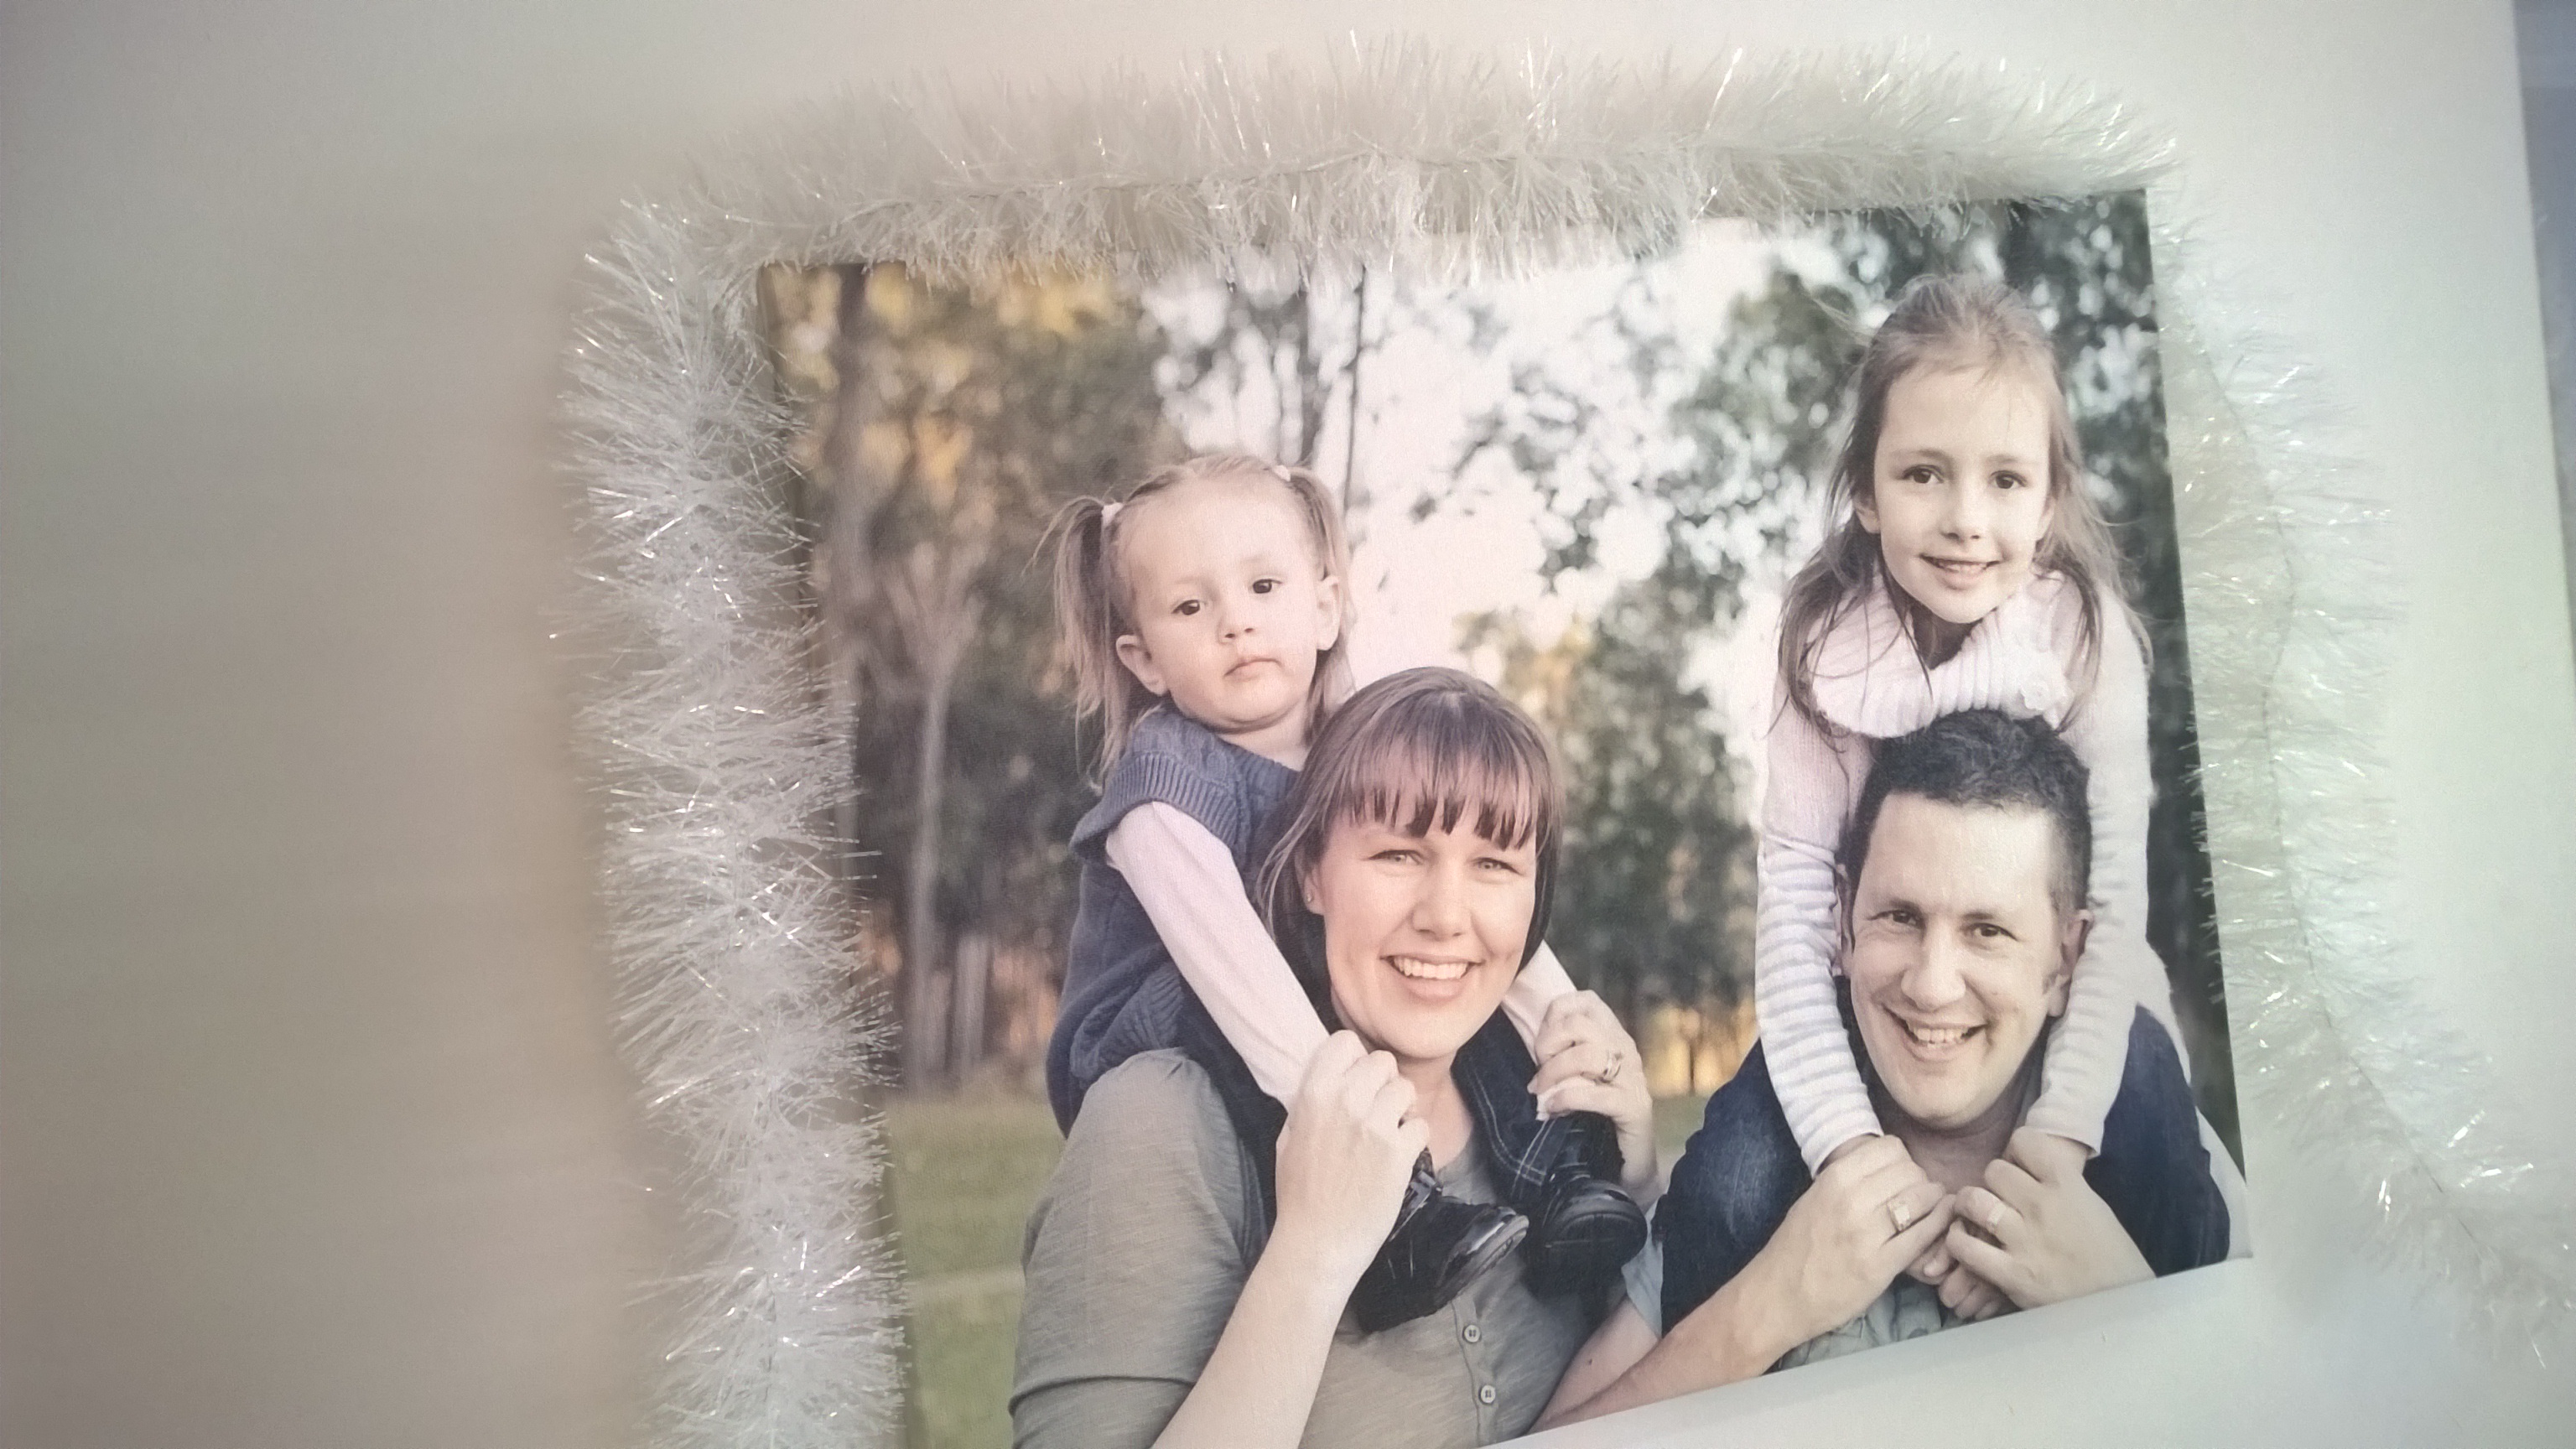
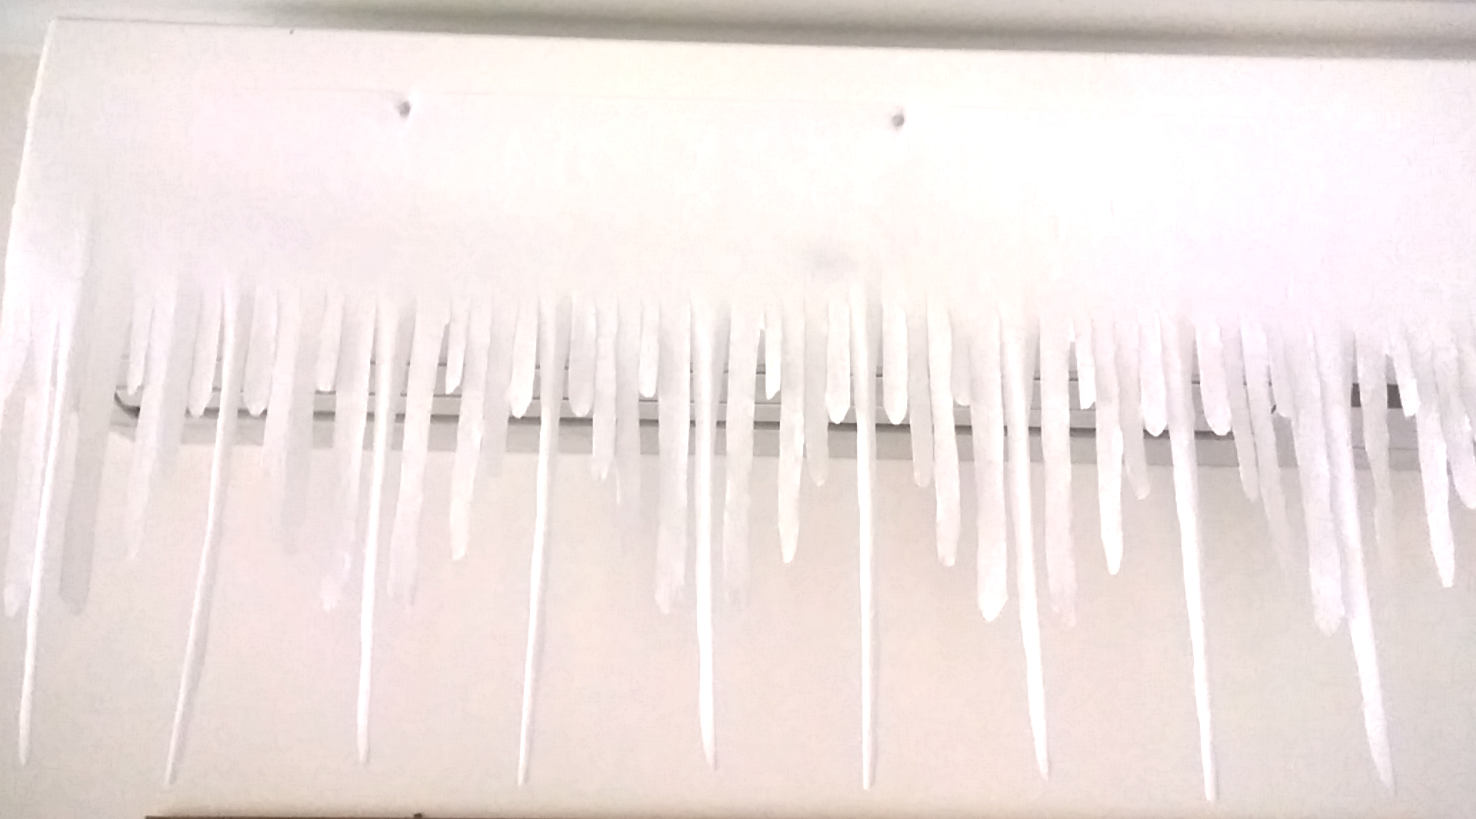
EVERYTHING got the Frozen treatment. White crepe paper was cut into icicles and white tinsel was draped throughout the house.
 ?
? ?
?
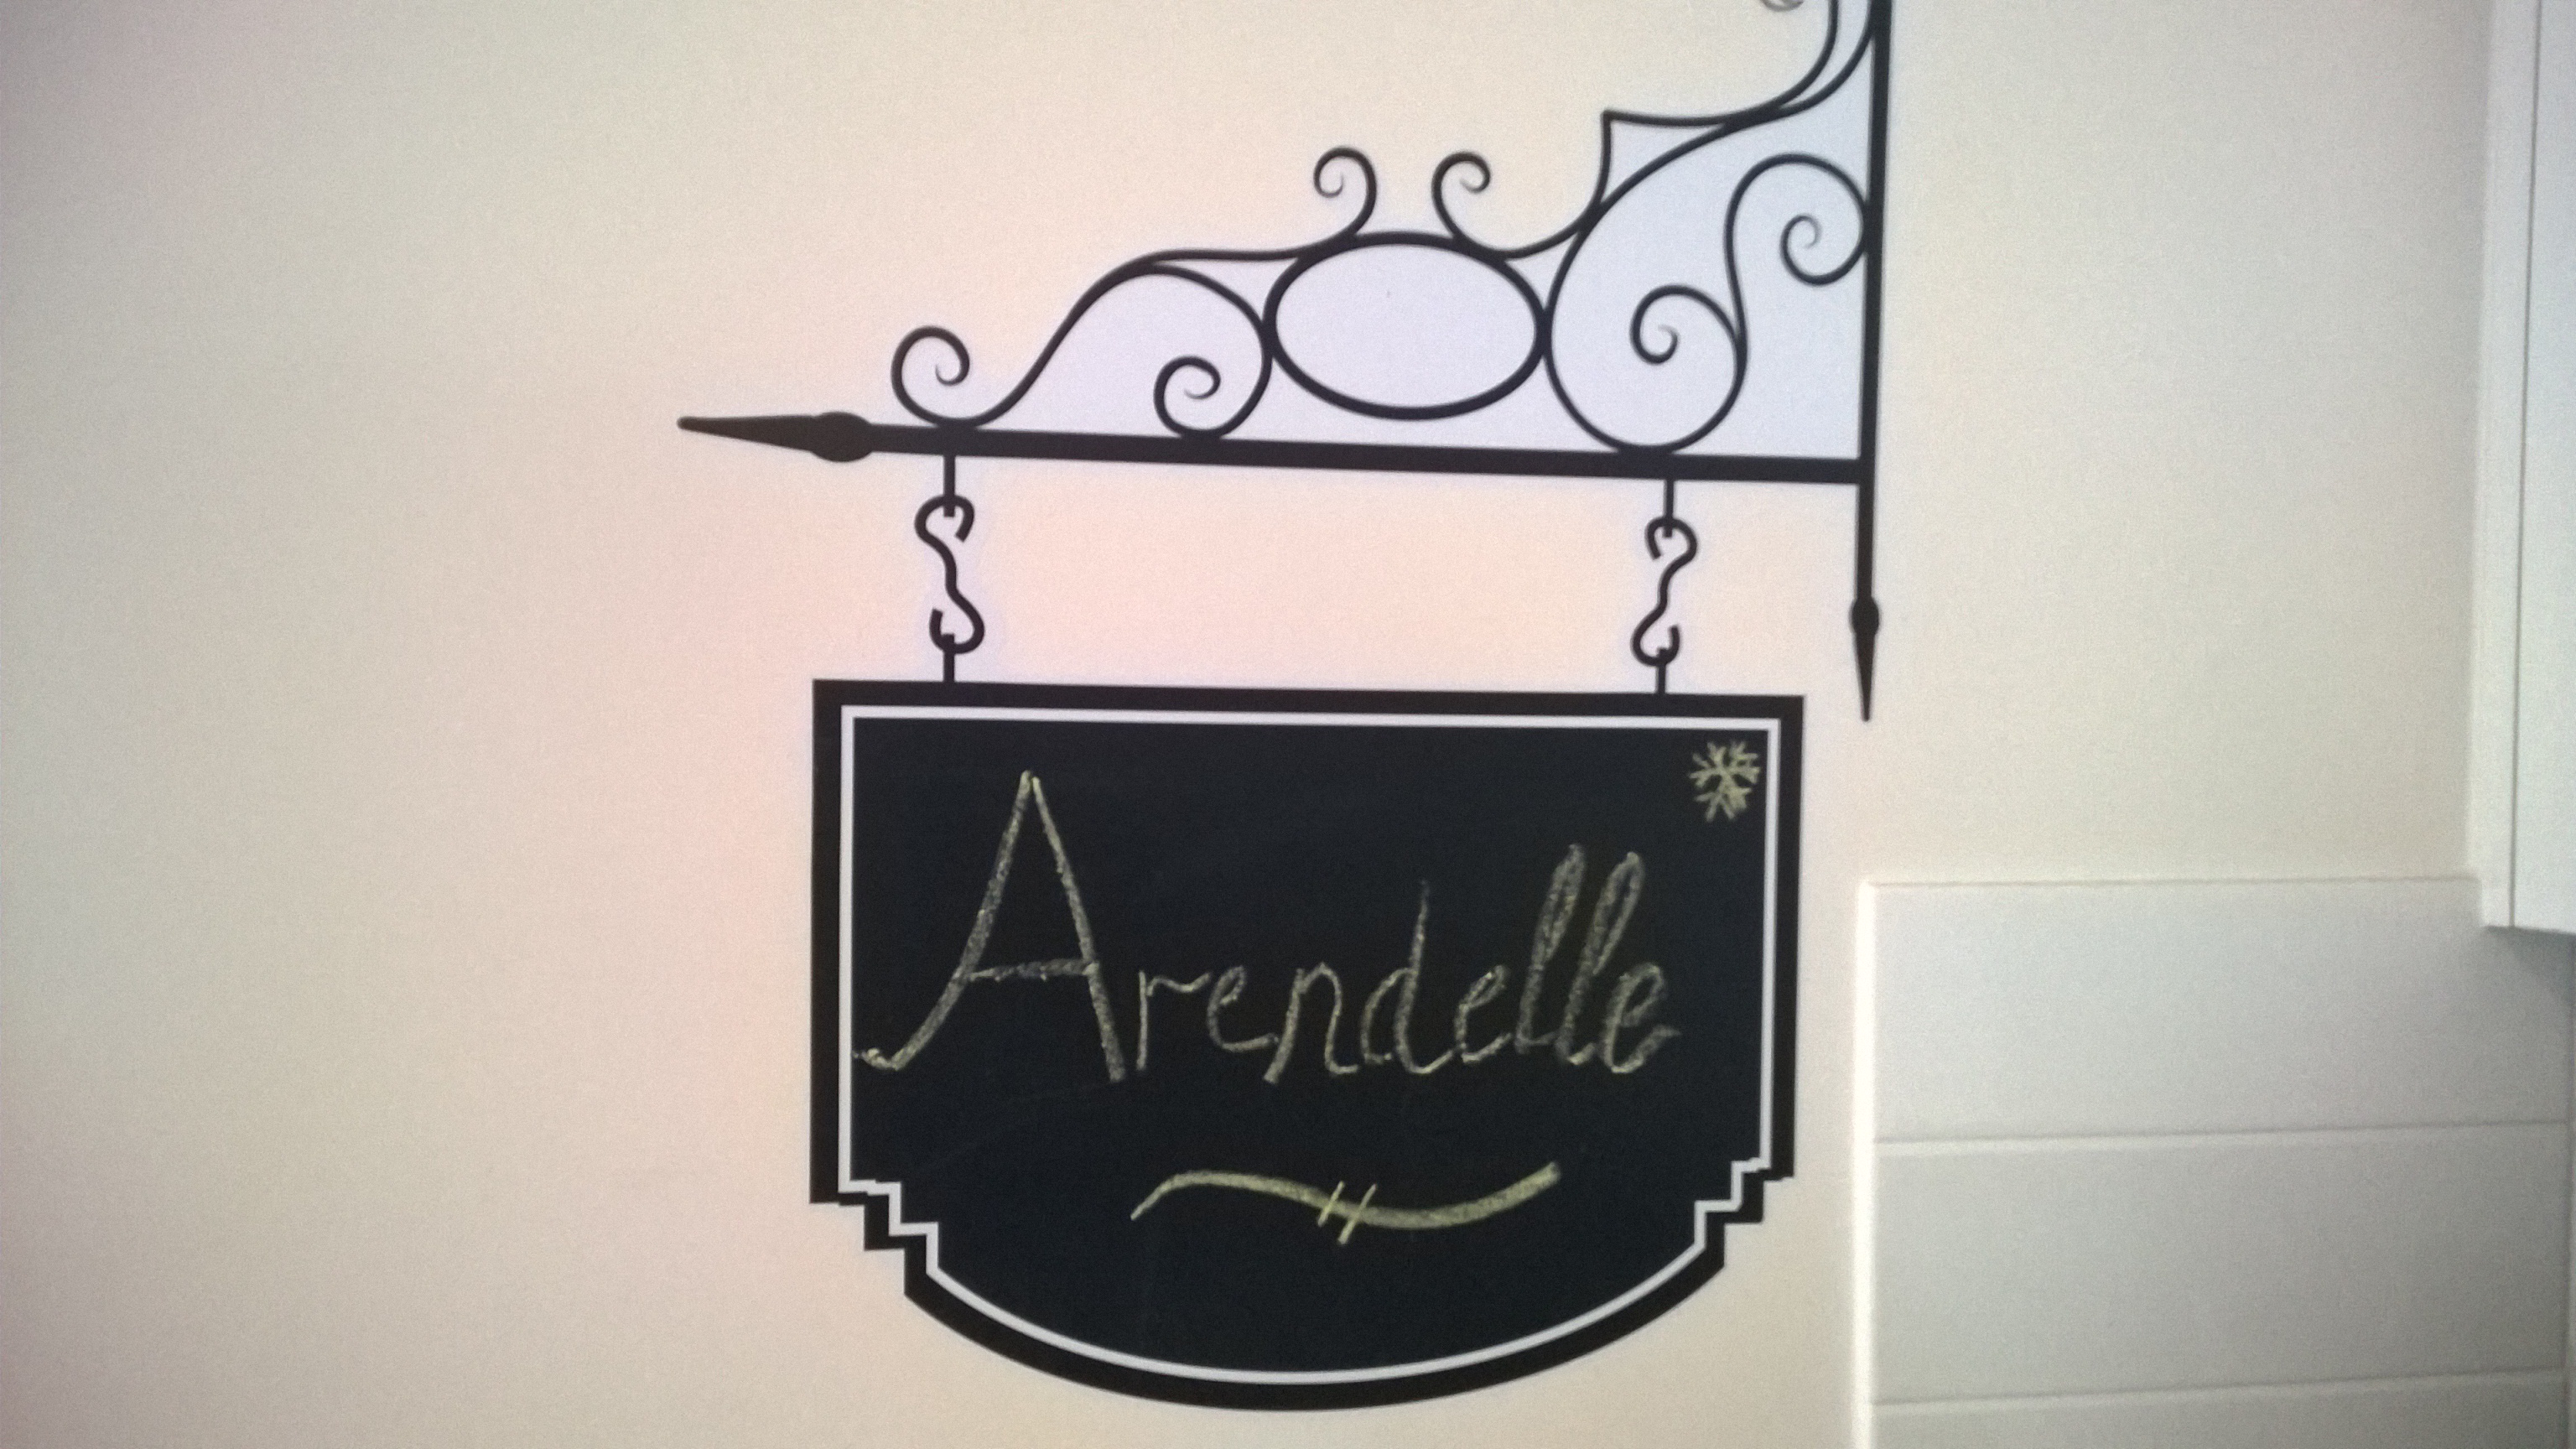
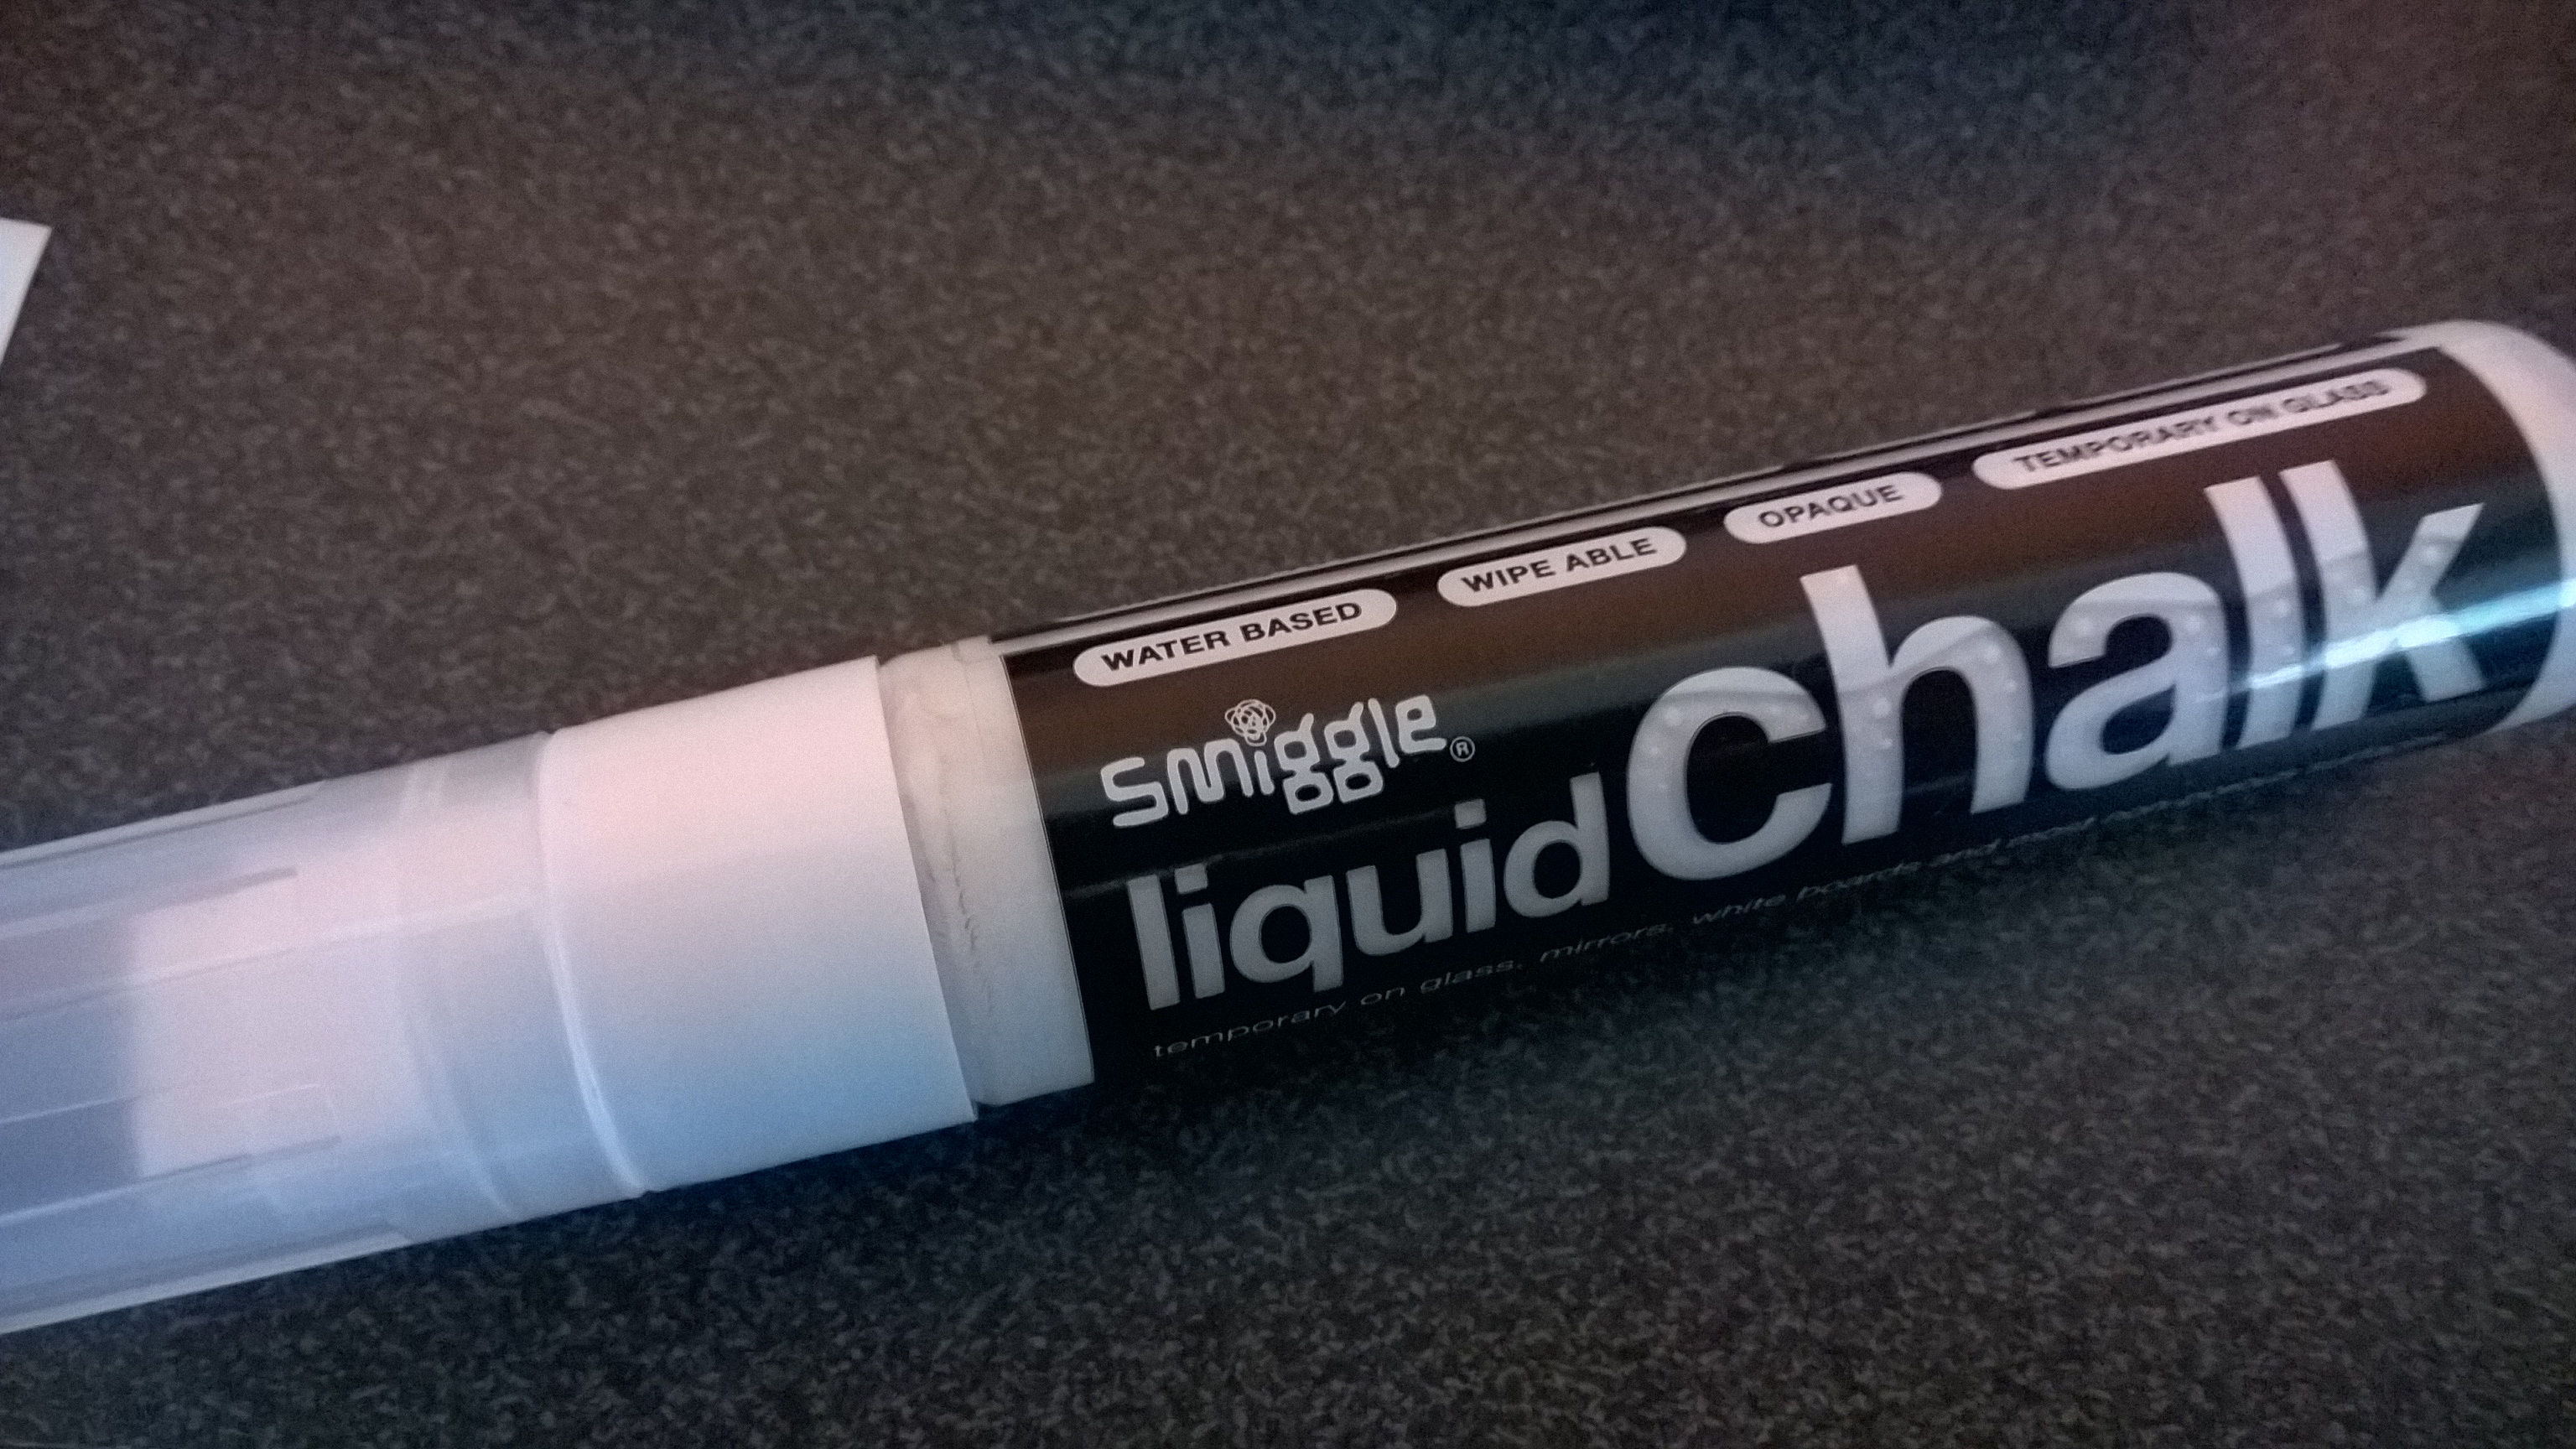
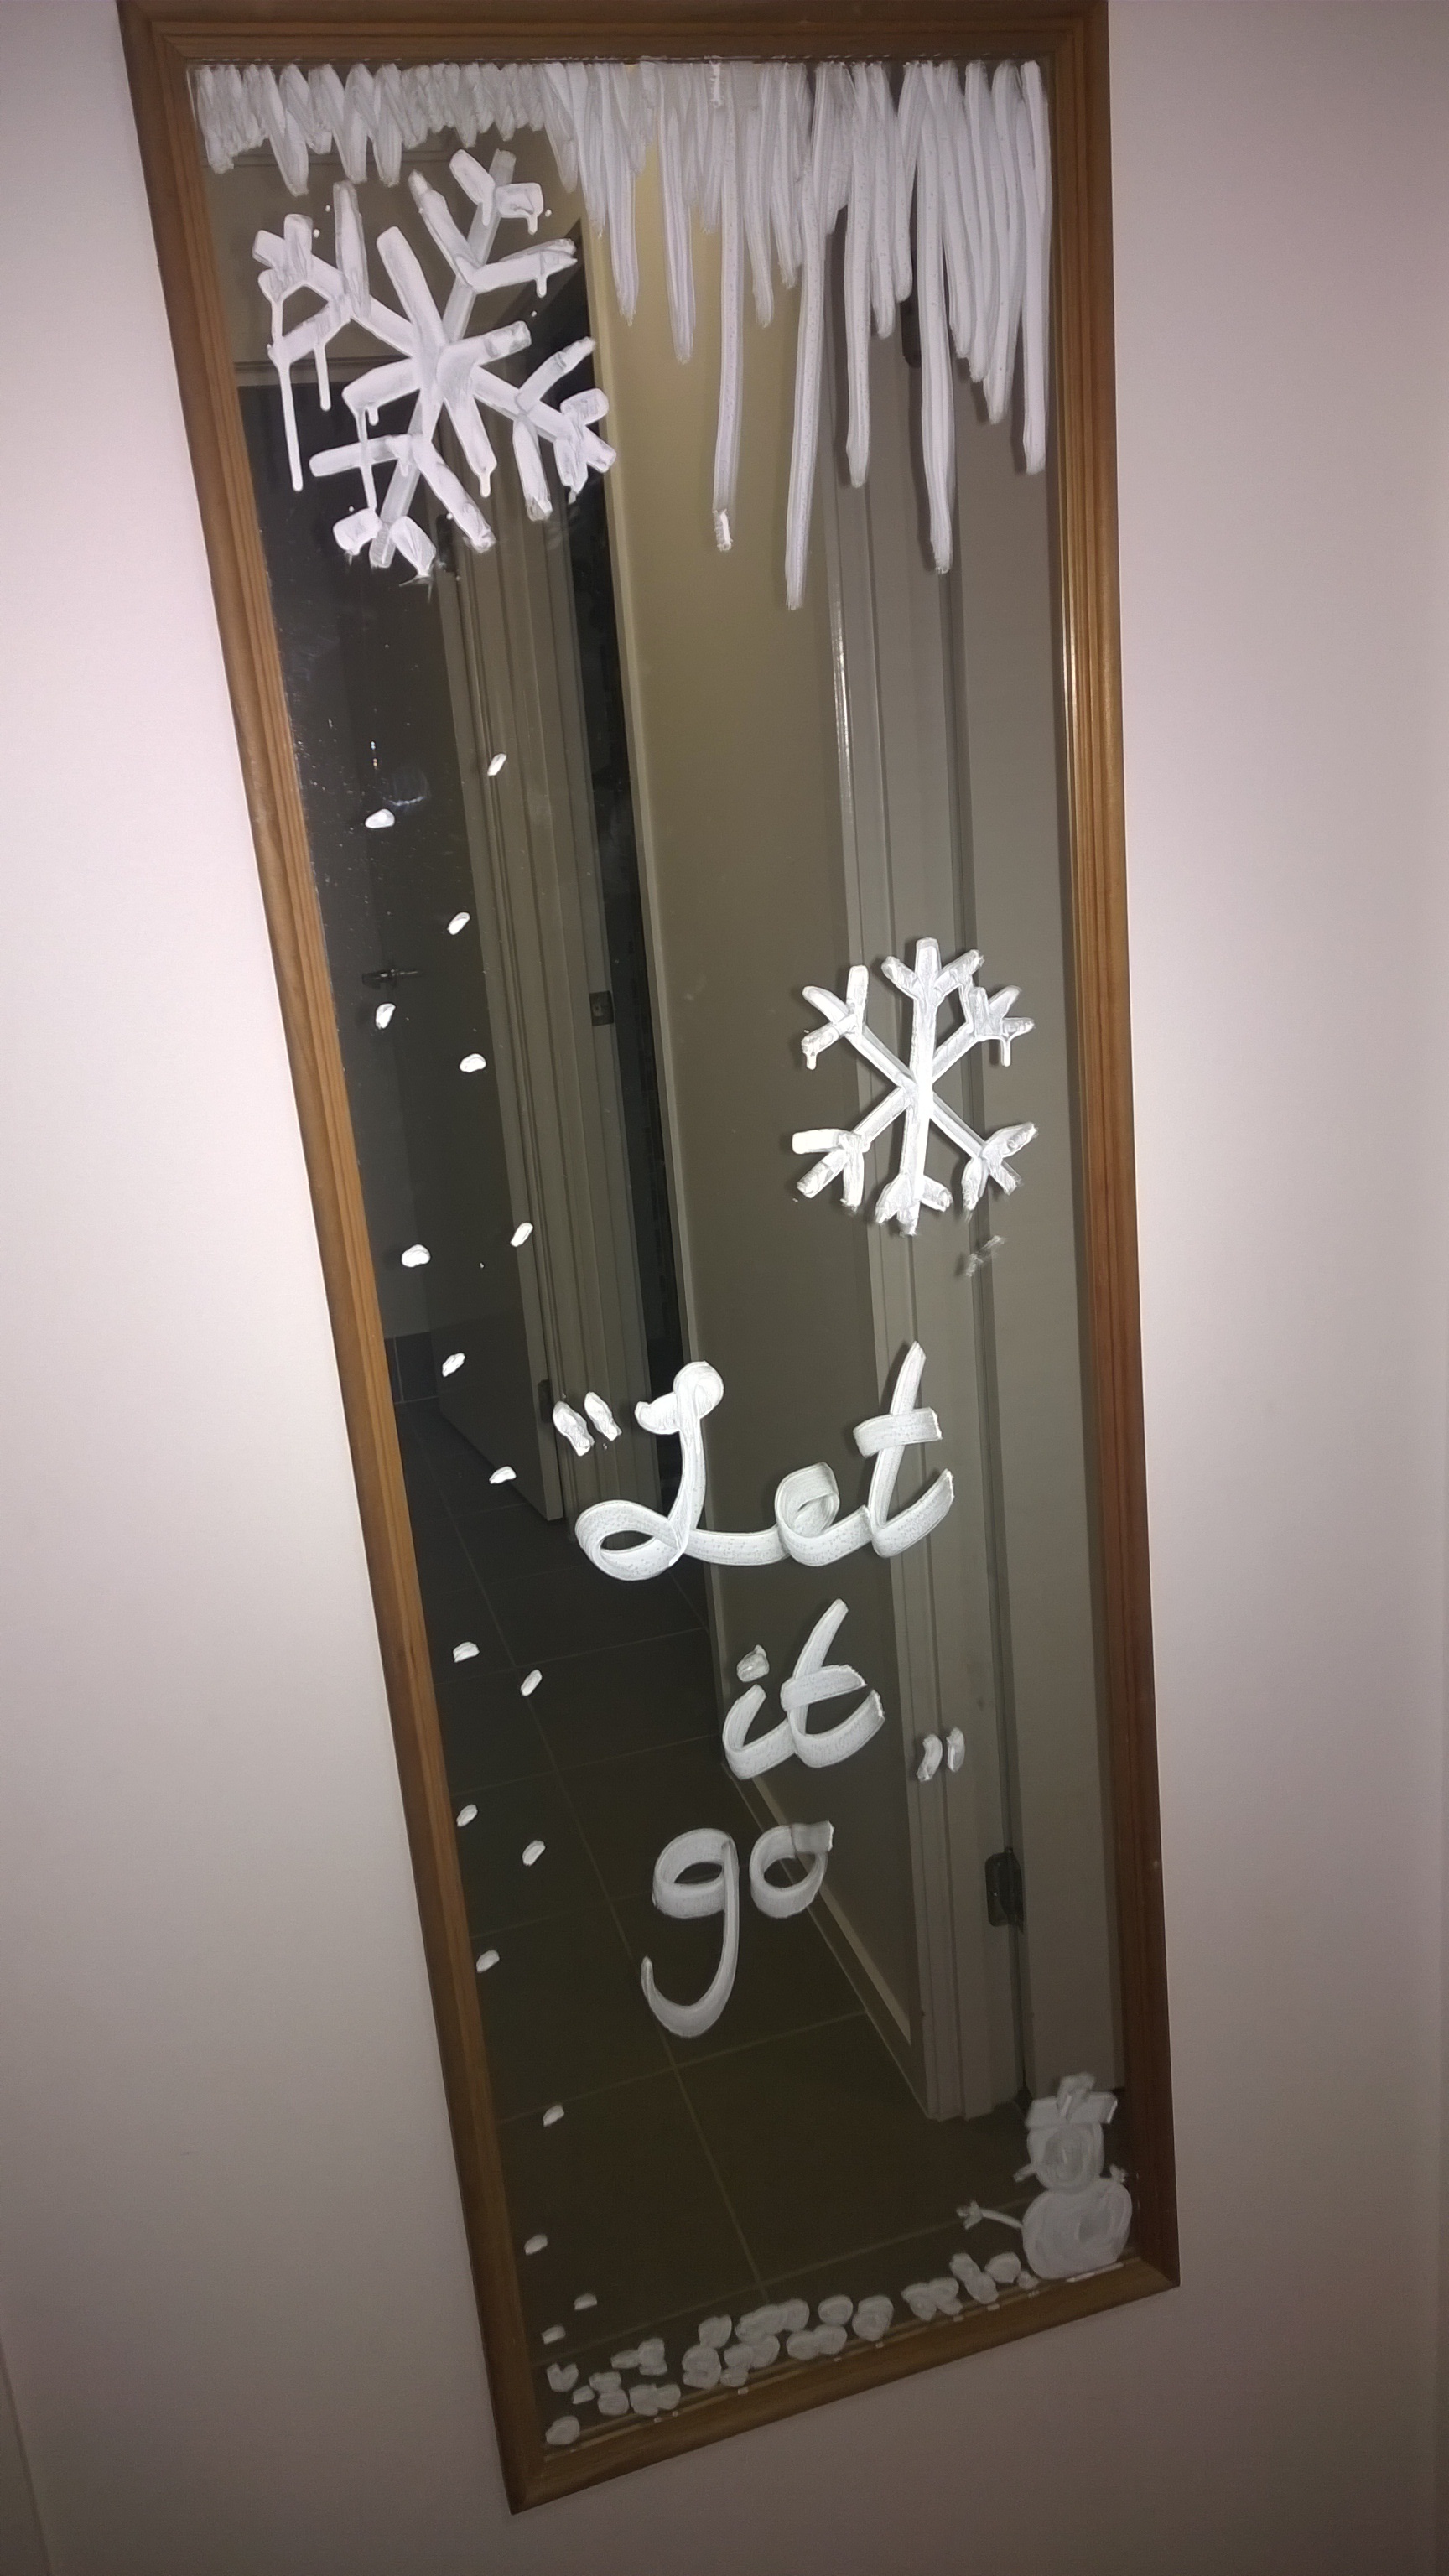
The day before the party I discovered?Smiggle?s Liquid Chalk?which is amazing on glass:
 ?????
?????
And then we used some internet free printables too. Just make sure your printer is not about to run out of yellow & cyan ink (true story):
 ?Free Frozen alphabet printable here: http://www.ohmyalfabetos.com/2014/02/dulce-alfabeto-de-frozen.html
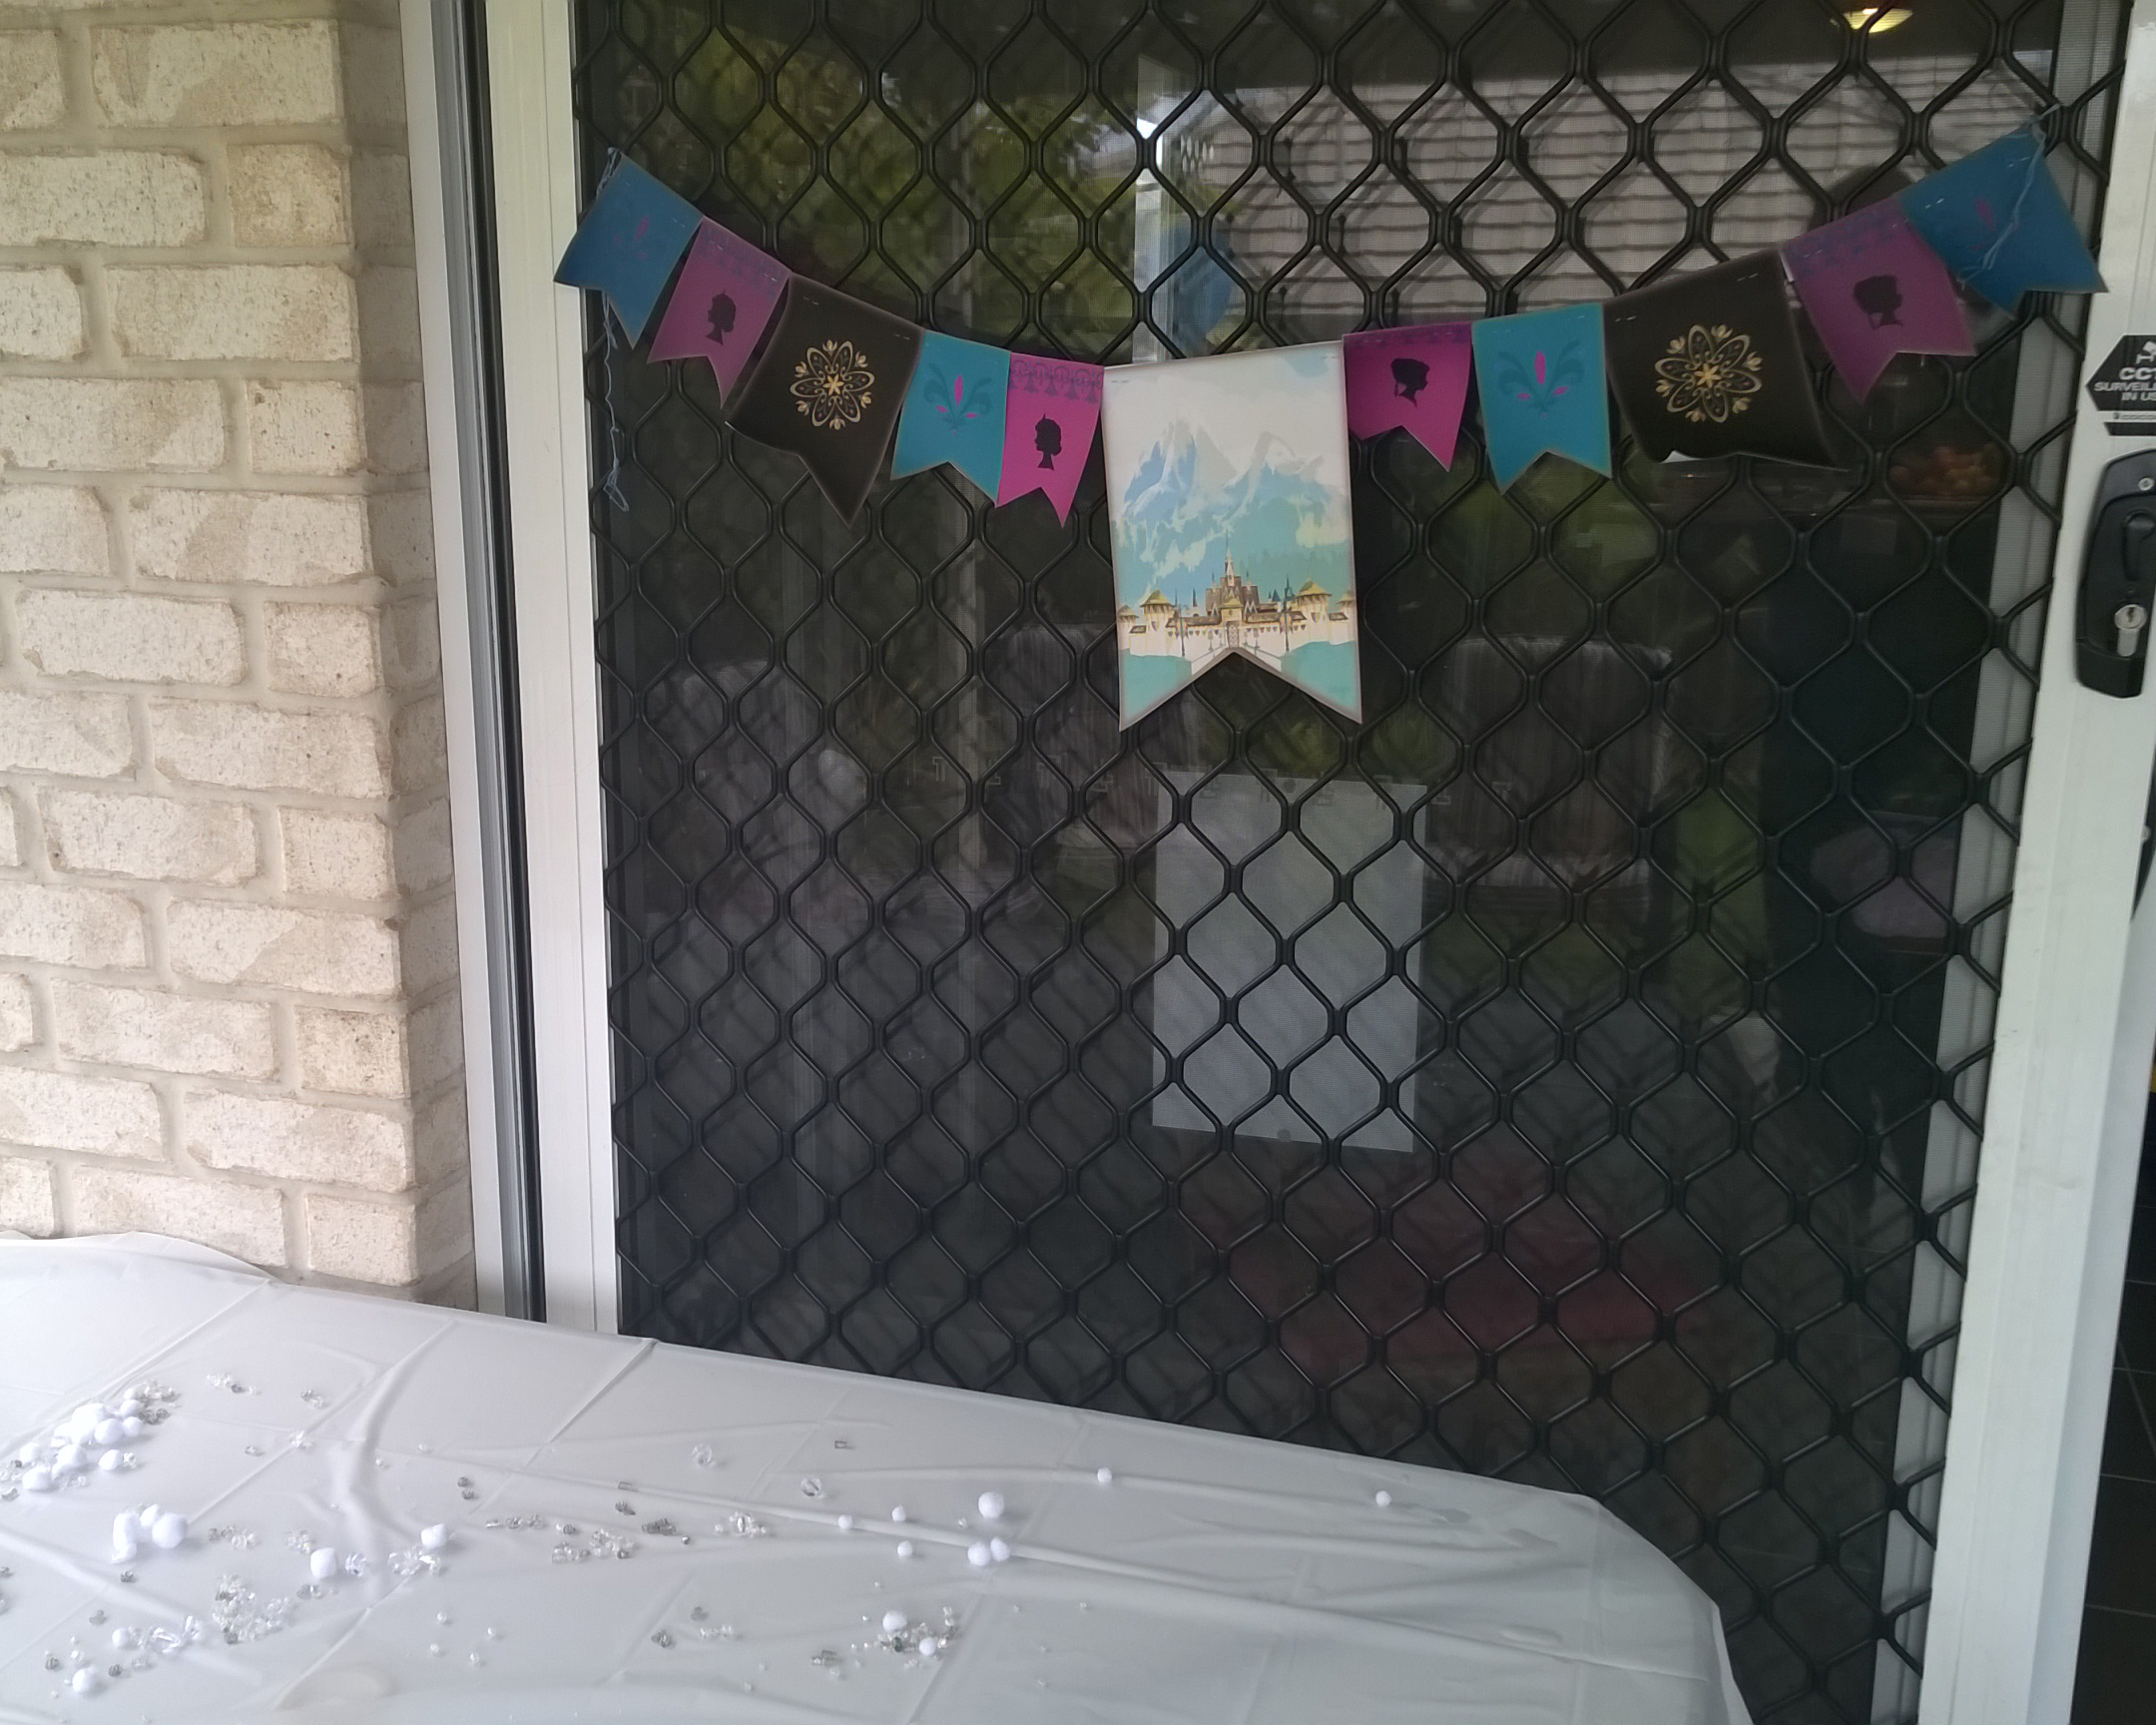 ?Arendelle kingdom?banner free printable here: http://bakingdom.com/2014/03/frozen-birthday-cake-and-banner.html
And for some official Frozen merchandise without driving across Brisbane (napkins & helium balloon), Party Supplies?Emporium got stock within days to their Stafford store http://www.partysuppliesemporium.com.au/kids-parties/d/disney-frozen/
Whew! Almost there. Now the only Frozen game we had (apart from pass the parcel) was ?Pin the Nose on Olaf?.
Lesson 6) Sometimes you have to reclaim split pins from a previous school craft project.
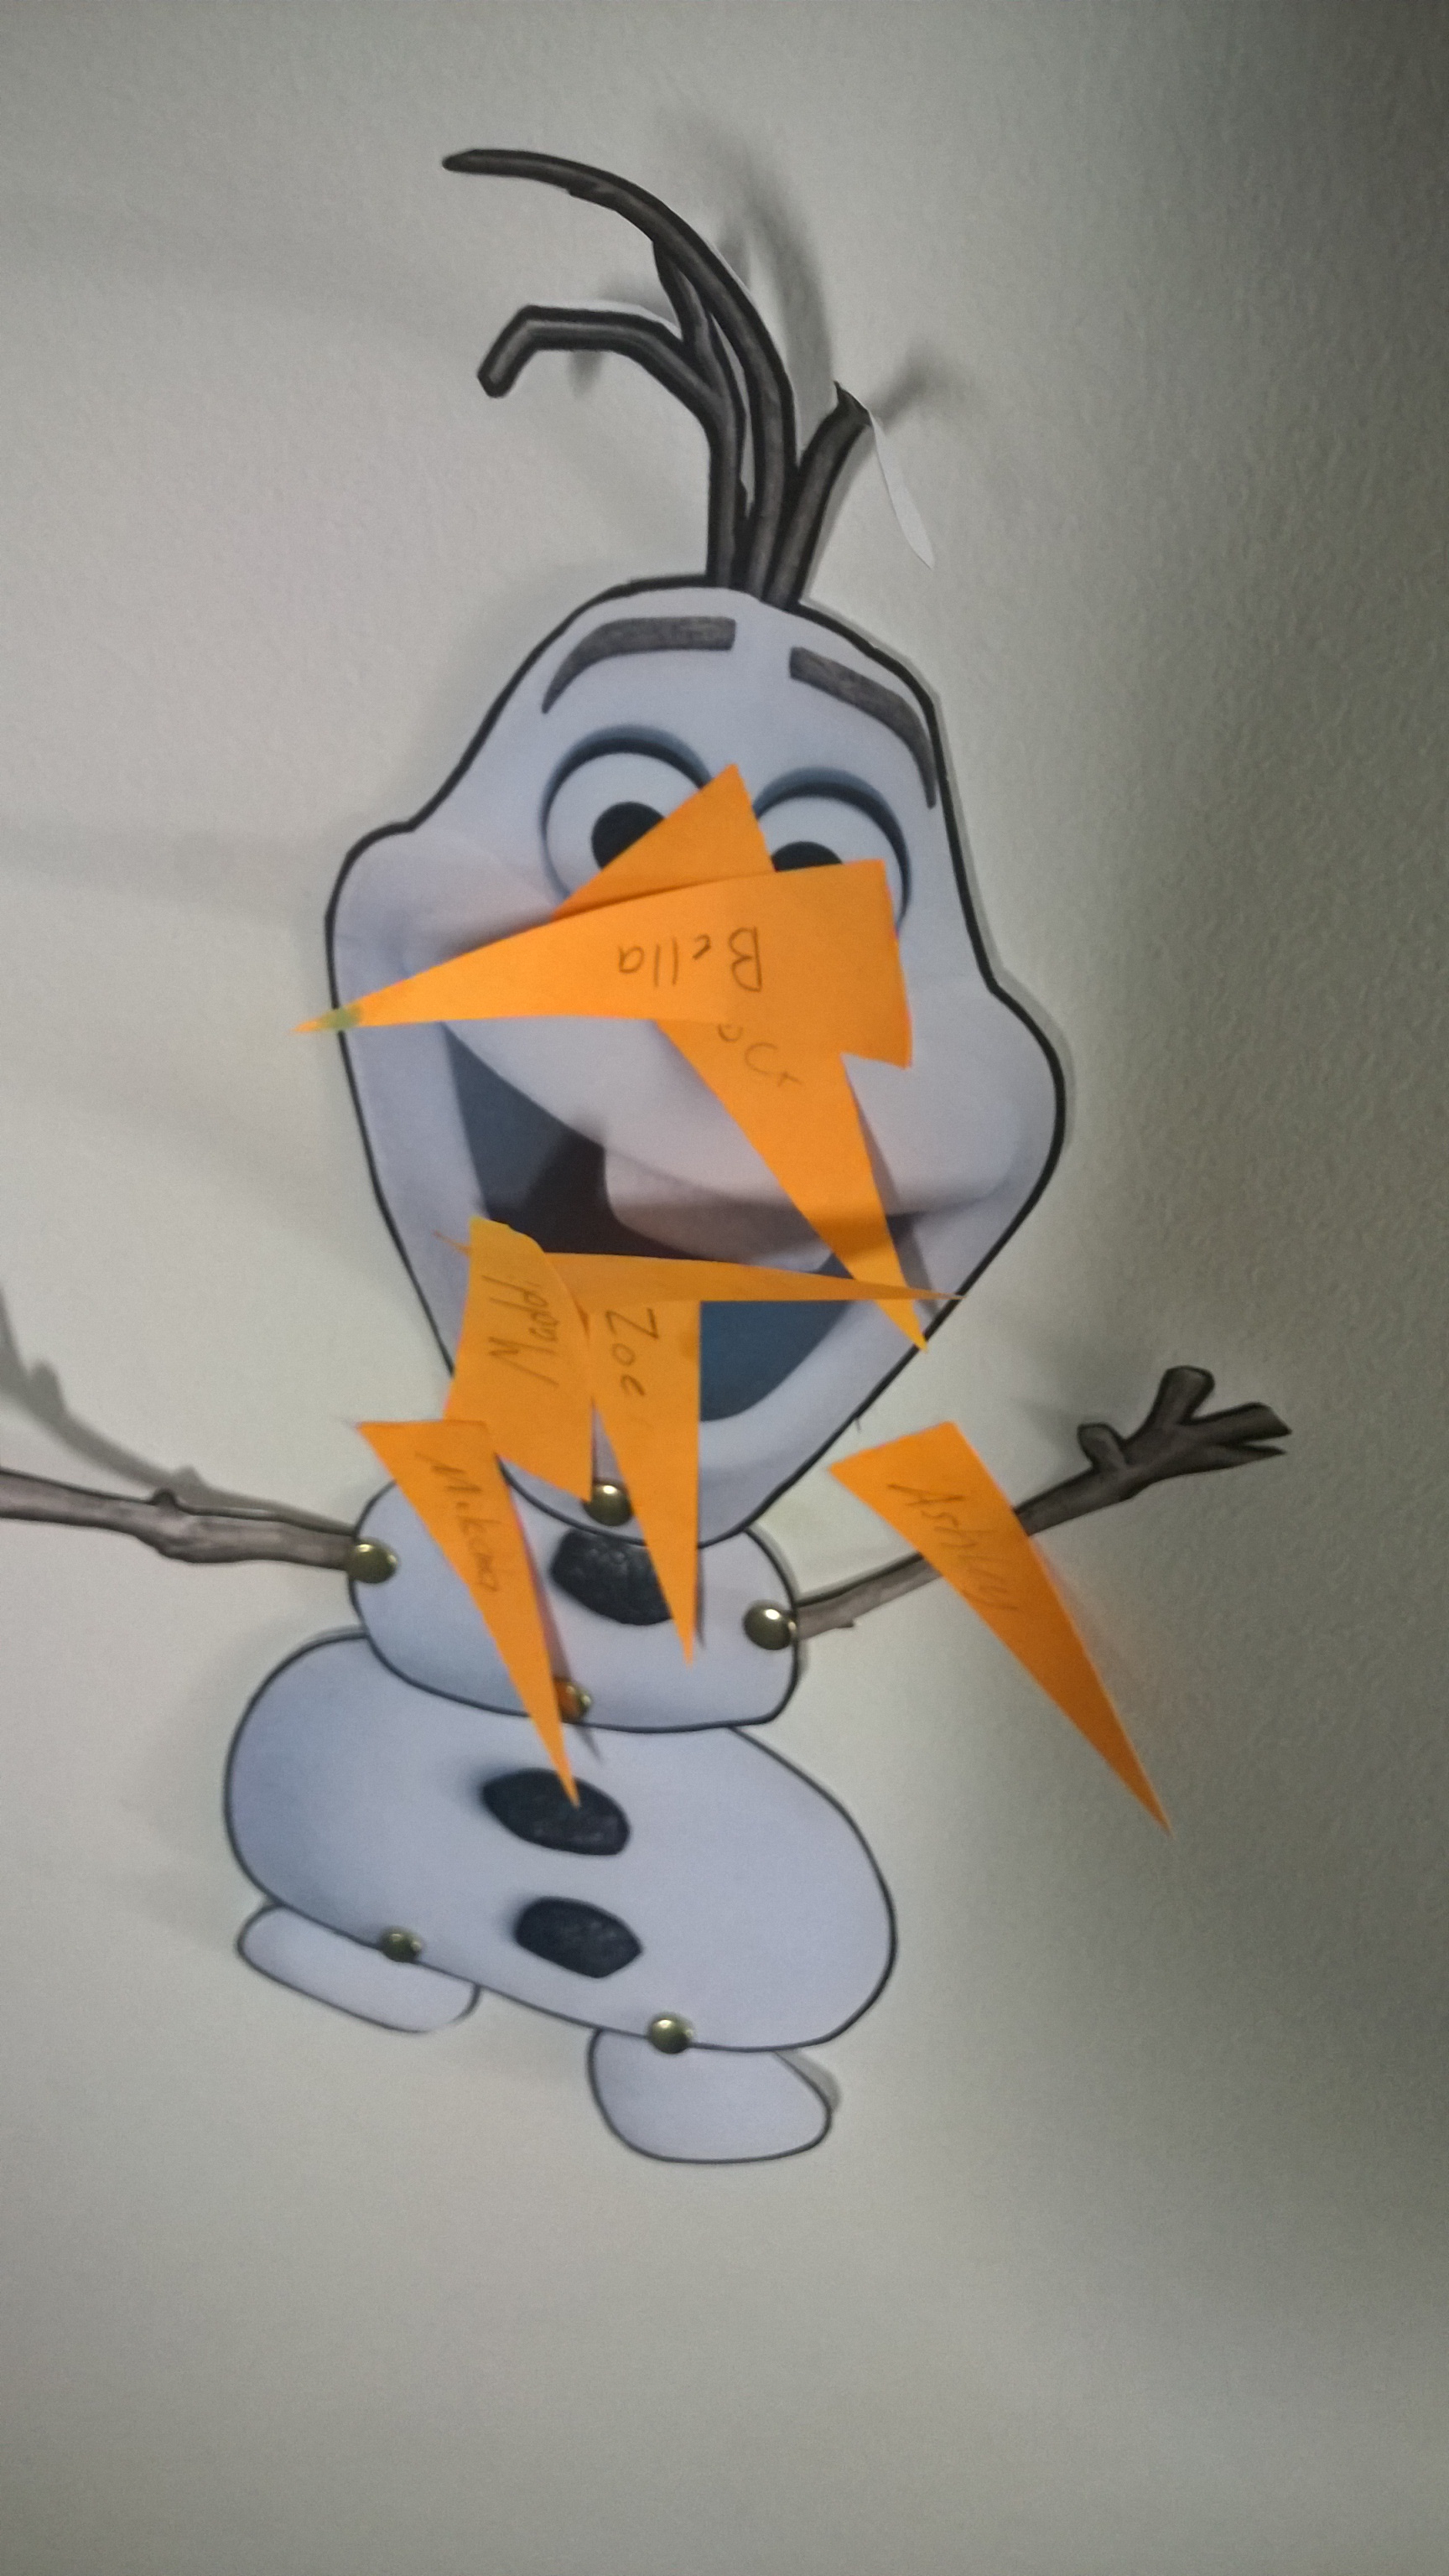 ?Pin the nose on Olaf free printable http://mommyoctopus.com/wp-content/uploads/2013/10/frozen_pdf_524cae6a24ba6.pdf
Lesson 7) Frozen food can be simple.
I have no food photos. I was going to snap the table but got caught up in final prep, then guests arrived & when I got to it, a snow flurry had decimated it. But I did get some great ideas here: http://delicateconstruction.com/2014/05/free-frozen-birthday-printables.html You could go crazy with frozen food prep, but as well as the requested chips & sausage rolls, we managed with Hershey?s kisses, popcorn, white marshmallows, strawberries half dipped in white choc?& a Melted Snow sign on the fridge?s water dispenser. Easy.
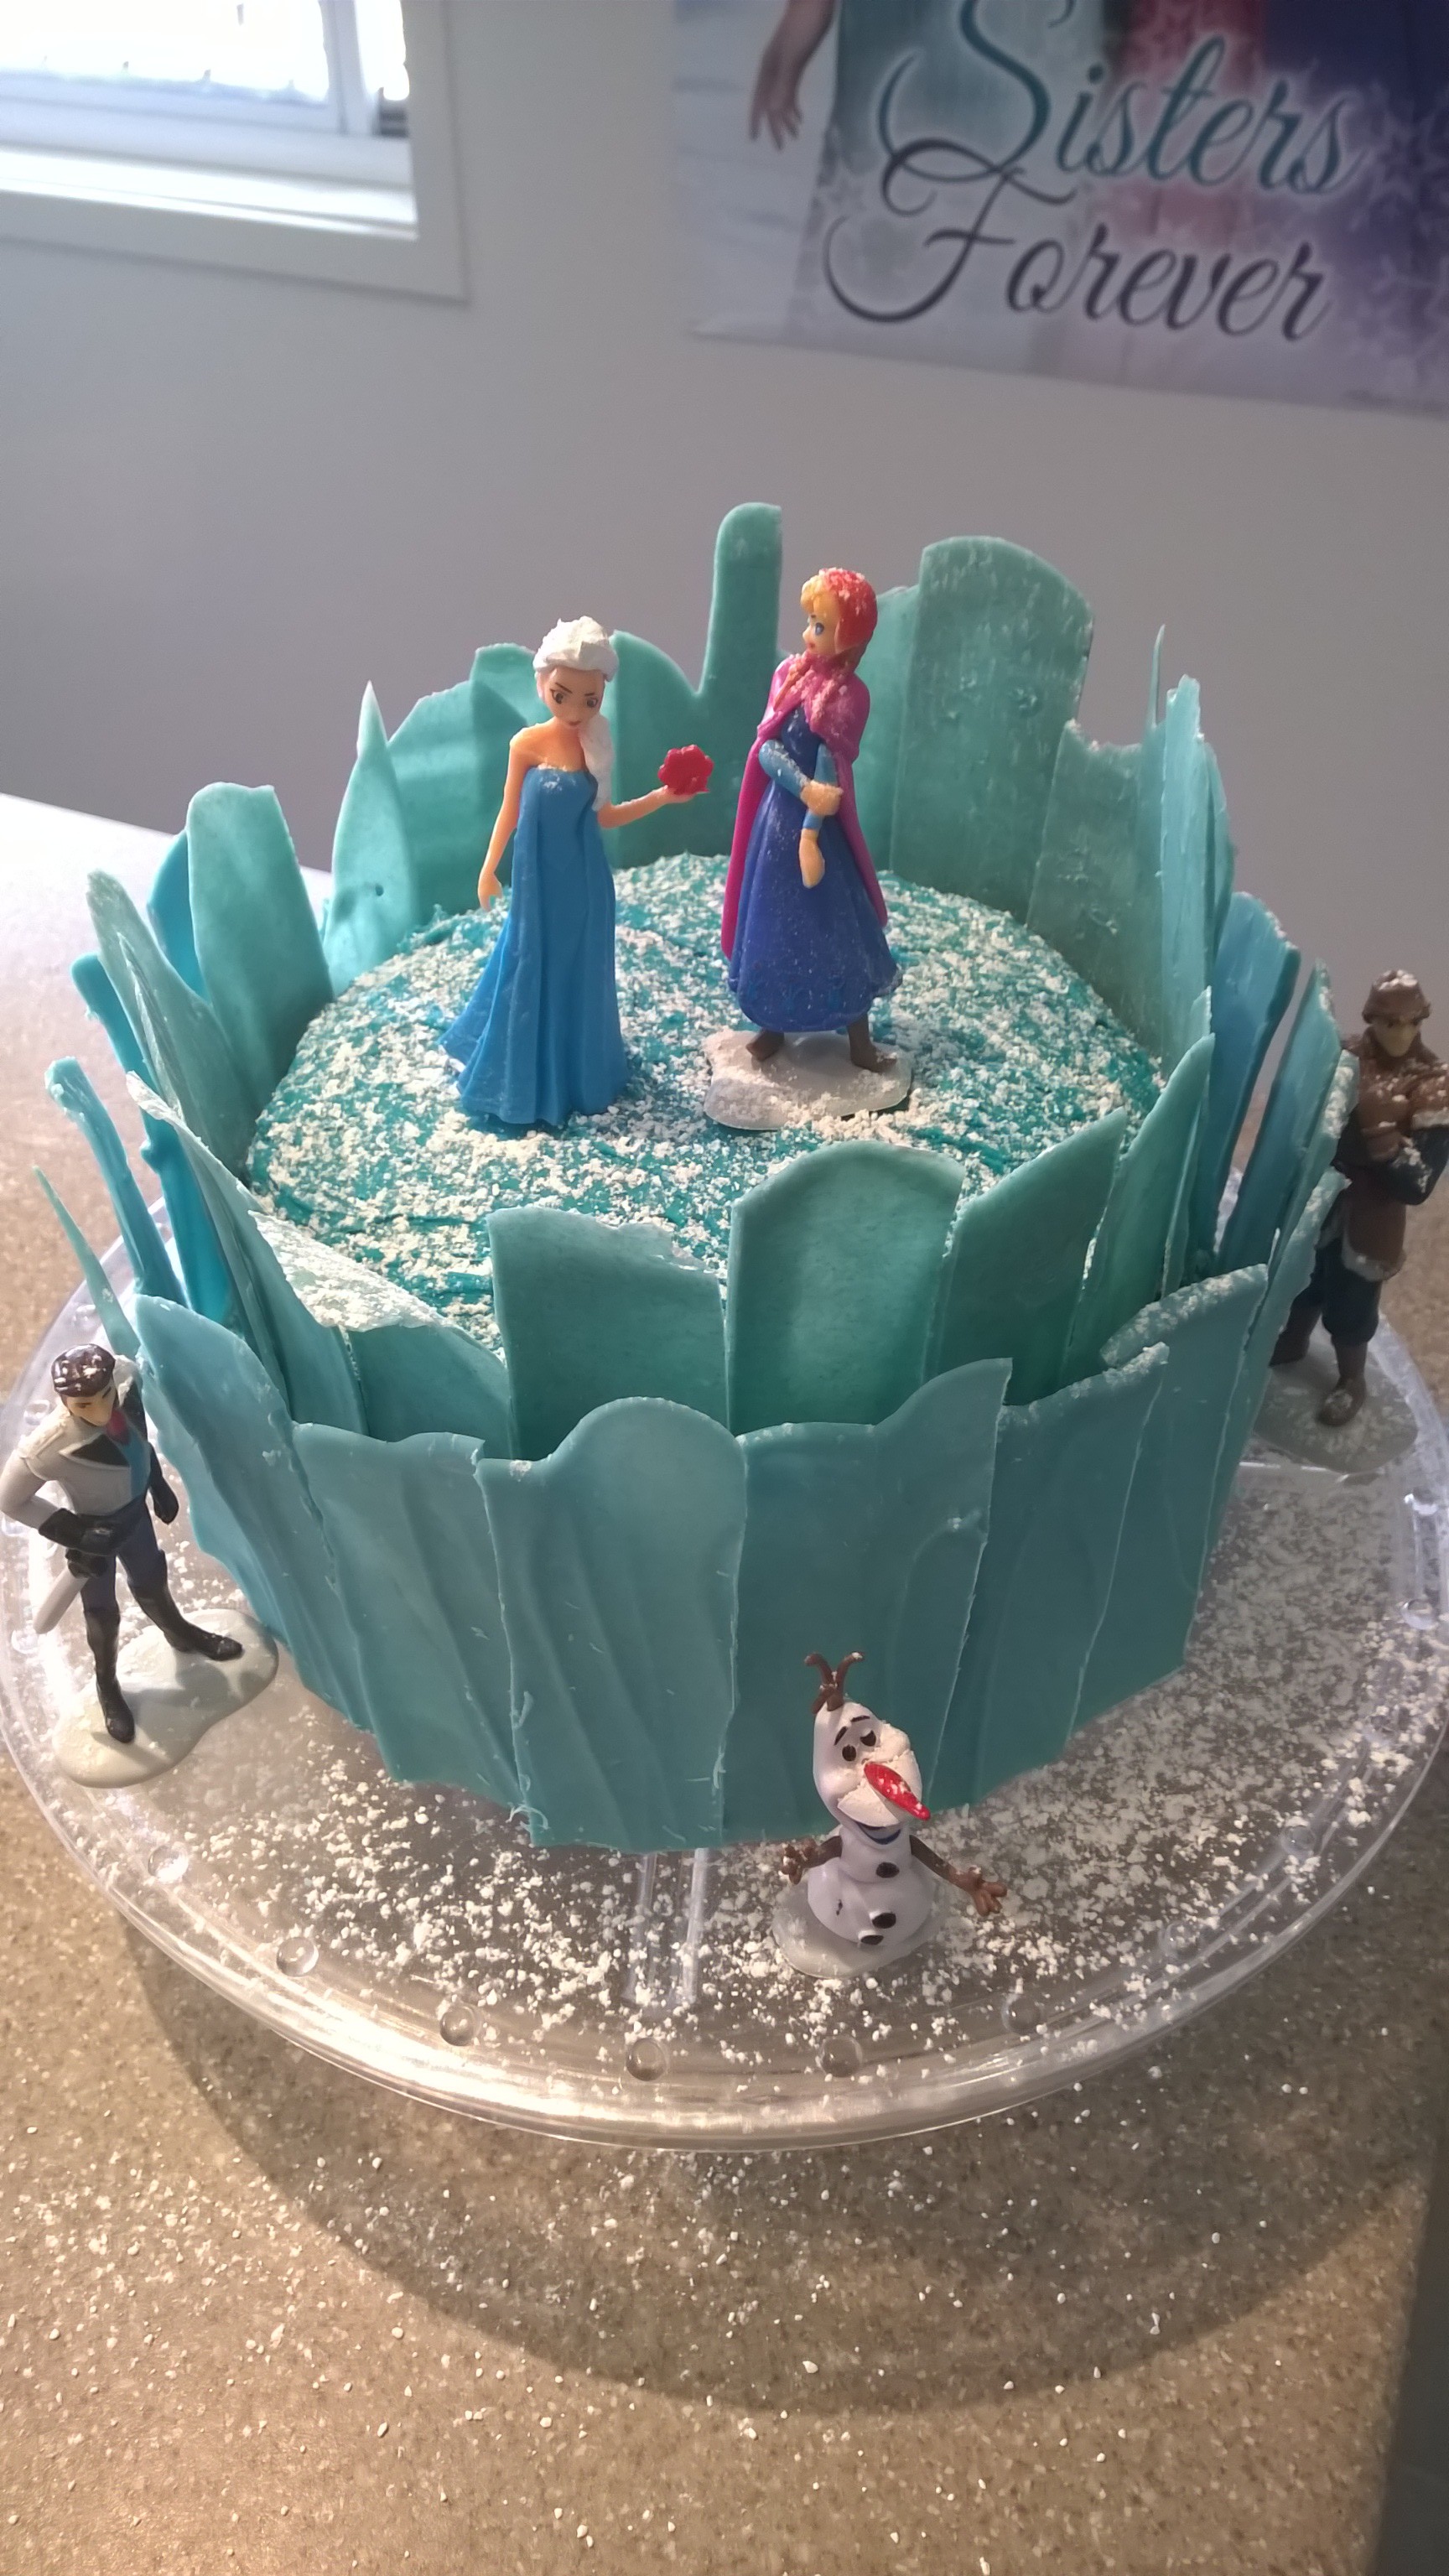
Lesson 8) It is easier to get someone else to make the cake.
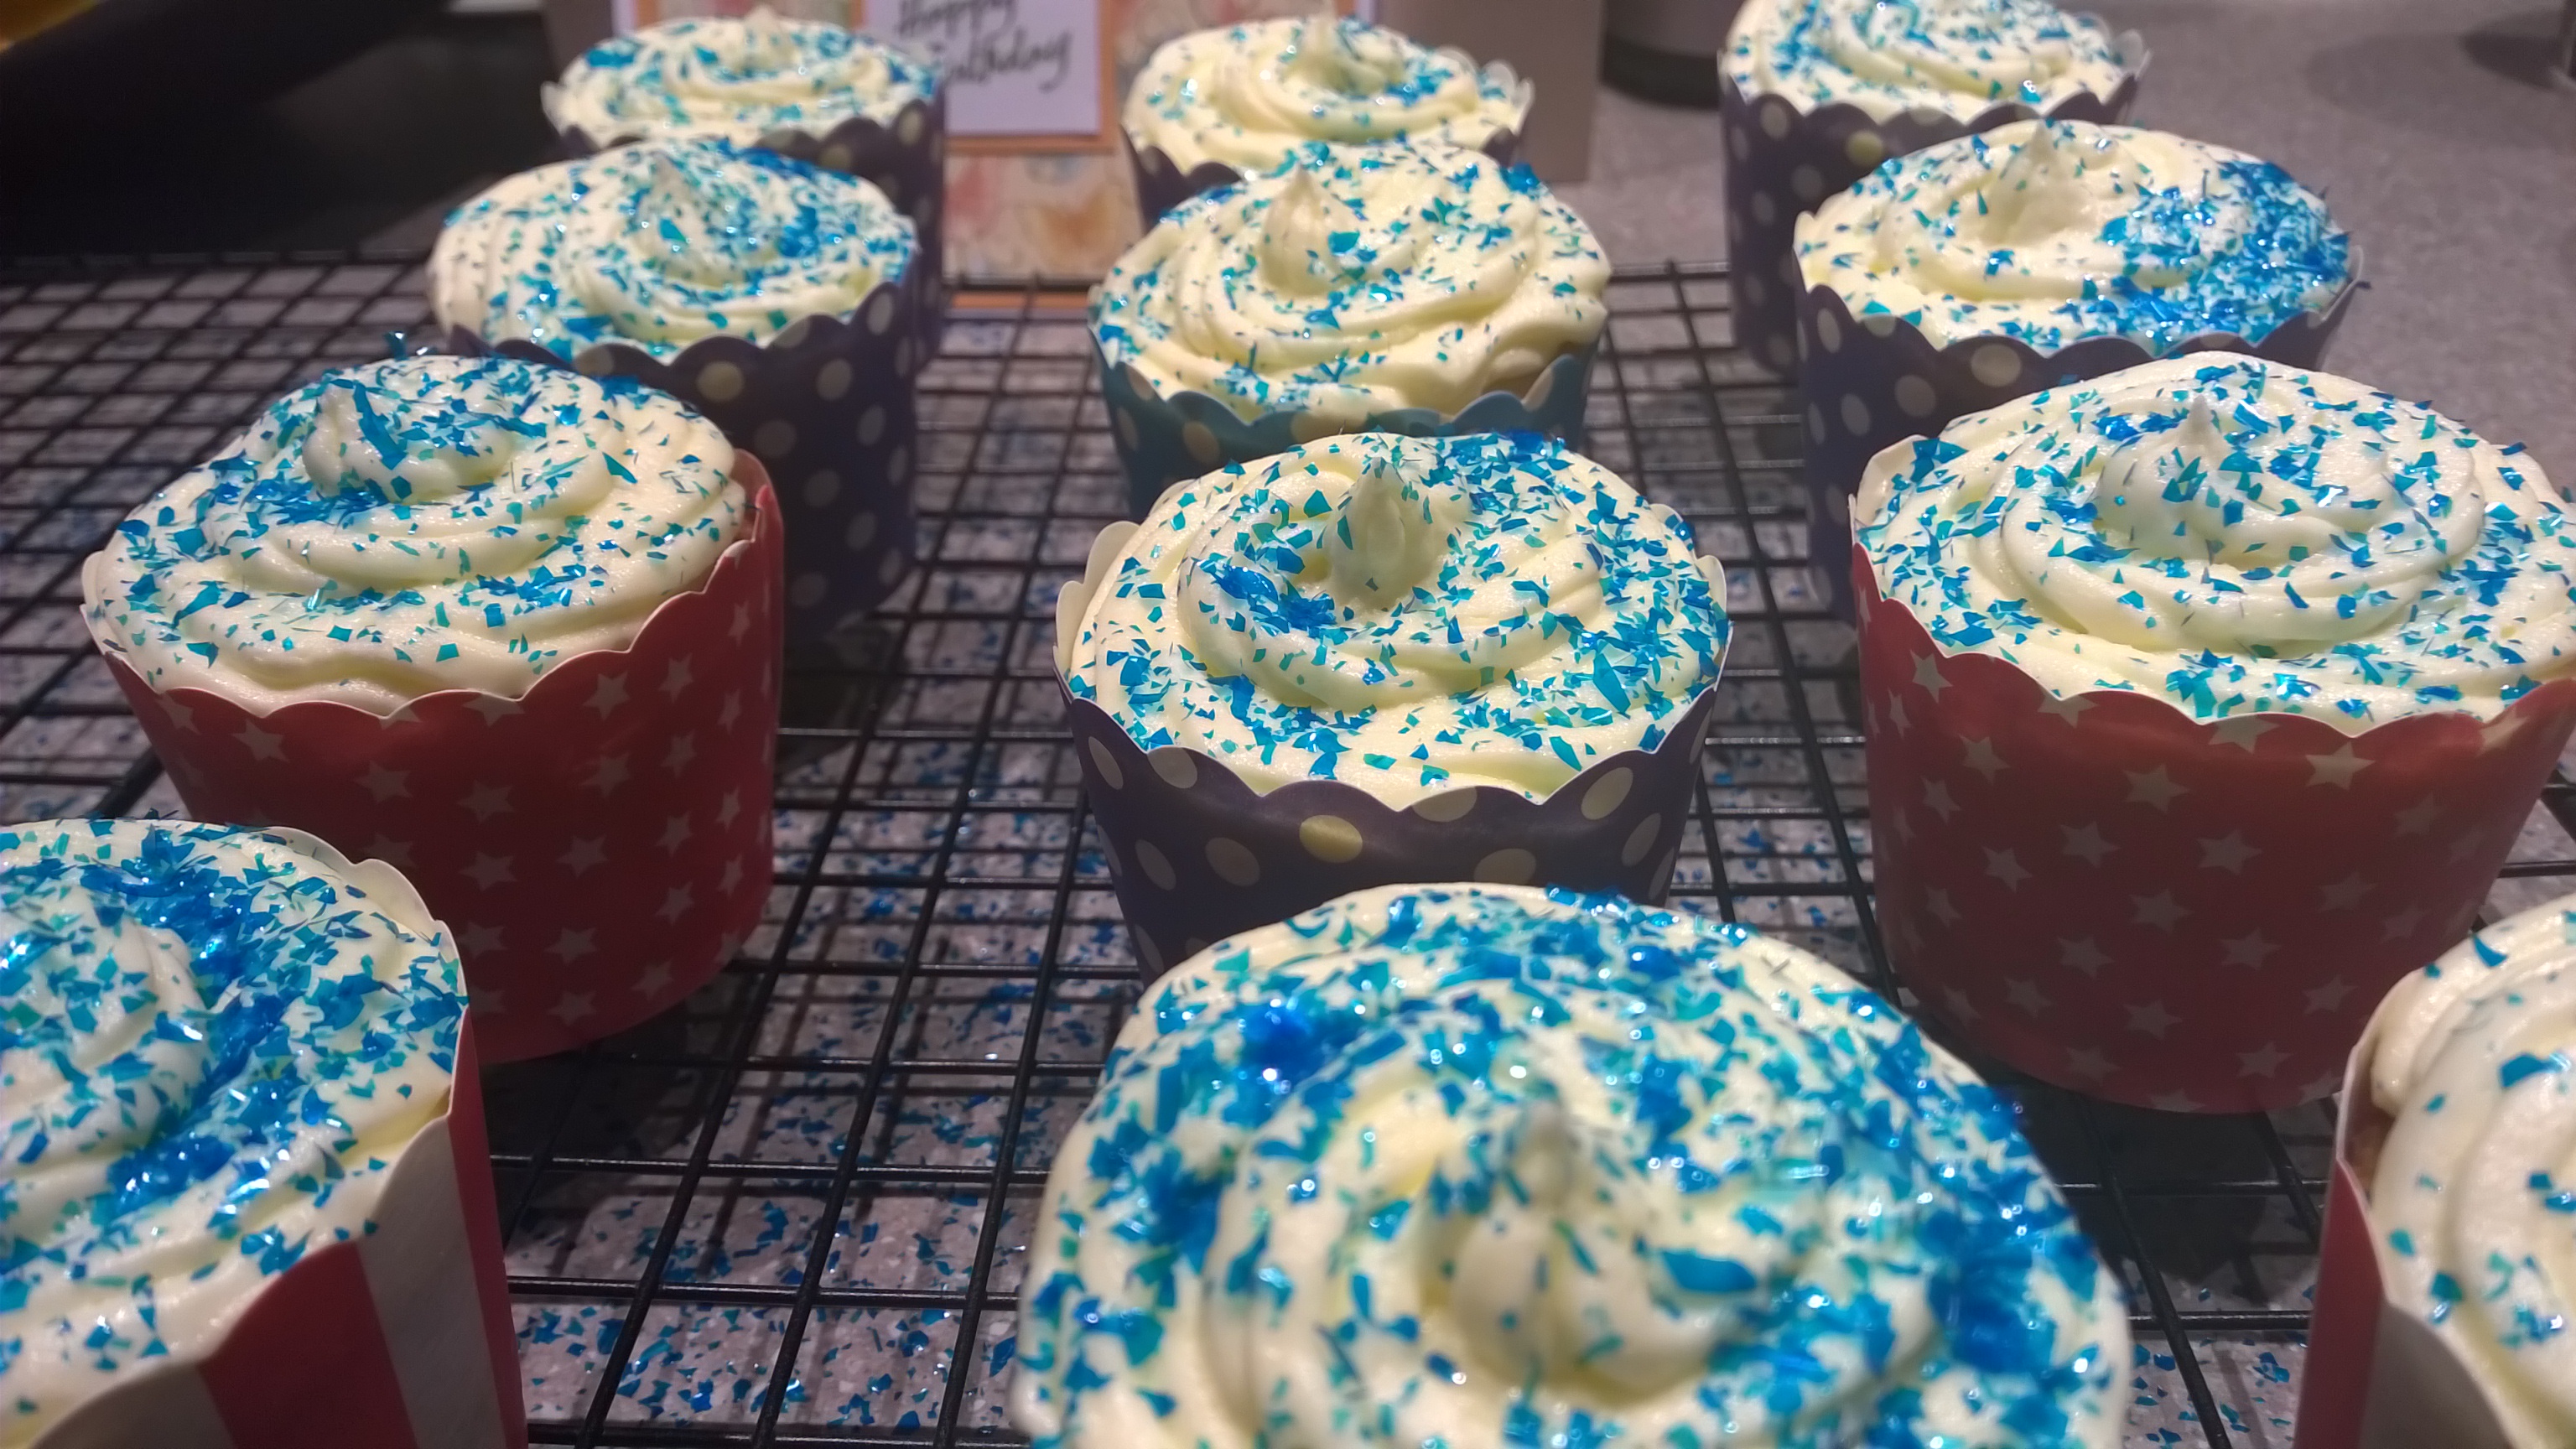
But I must admit, as stressed as this project tried to make me, I actually enjoyed the challenge. My mum found the cake design in one of the women?s magazines and I?d already fallen in love with it on the internet. It?s a large diameter butter cake with a smaller one on the top. The ice shards are white chocolate tinted with blue food colour gel. They were tricky to make ? spread out on baking paper and fiddly to get the right thickness. Too thin and they would get holes in when putting on the cake at room temperature. But icing hides a thousand sins, especially when dusted with icing sugar. The cake topper figures were purchased on eBay from a lovely local lady who?could get them to me on time. And after the excitement of a Sunday morning party, there was the required batch of cupcakes to whip up for kindy (when my icing bag broke). Yay for blue edible sprinkles.
Lesson 9) It?s ok to cut down on grand plans. The kids won?t notice anyway.
Here?s the Pinterest board where I was saving the ideas that caught my eye: http://www.pinterest.com/leandac/ambers-birthday/ Pinterest is full of this stuff. But not every idea made it to production. The crowns were a great idea but the printer really completely ran out of ink after printing three of them.
Apparently next year she wants a ?How to train your dragon? party. I better get to the shops now while it?s still popular!
-SCuffy